Paper Flowers for Beginners: Where to Start
An overview of the three main kinds of paper flowers, the four skills behind all of them, and a practical order of first projects.
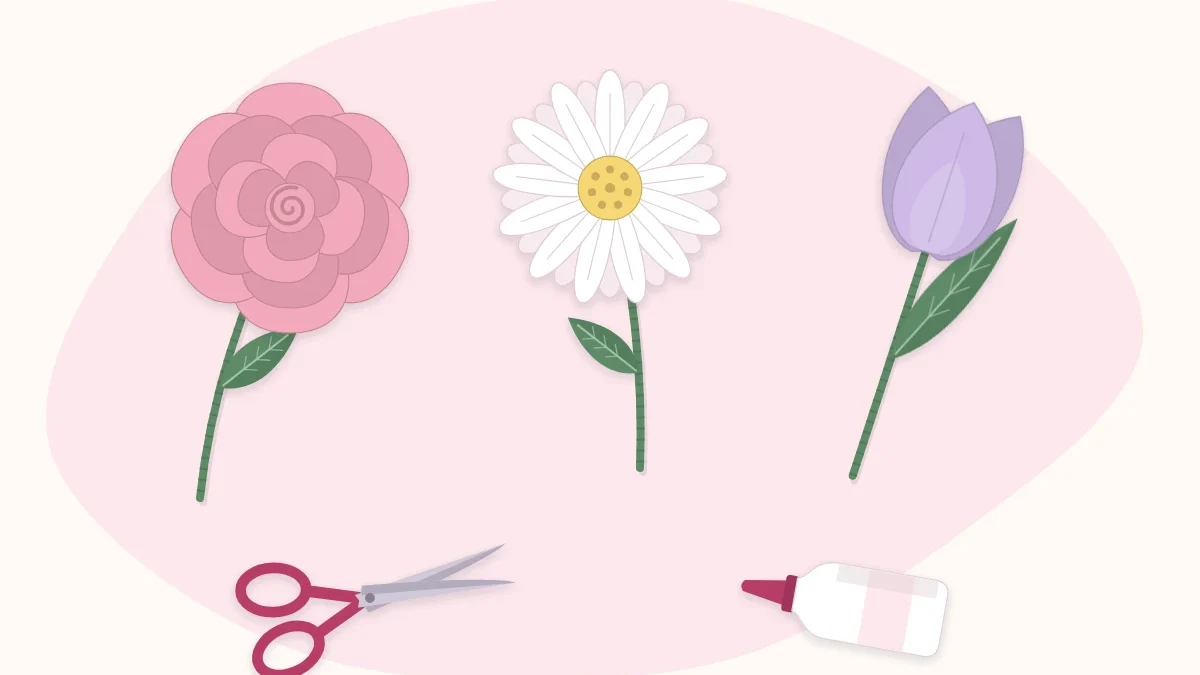
Paper flowers look harder than they are. Almost every one of them, from a flat daisy to a full rose, is built from the same four moves: cut a shape, give it a curve, glue it to its neighbors, and attach it to something that holds it up. Learn those moves on a forgiving project and the rest of the craft opens up quickly.
This page is a map. It explains the main kinds of paper flowers, what each one asks of you, and an order of projects that builds skills without wasting paper.
Three families of paper flowers
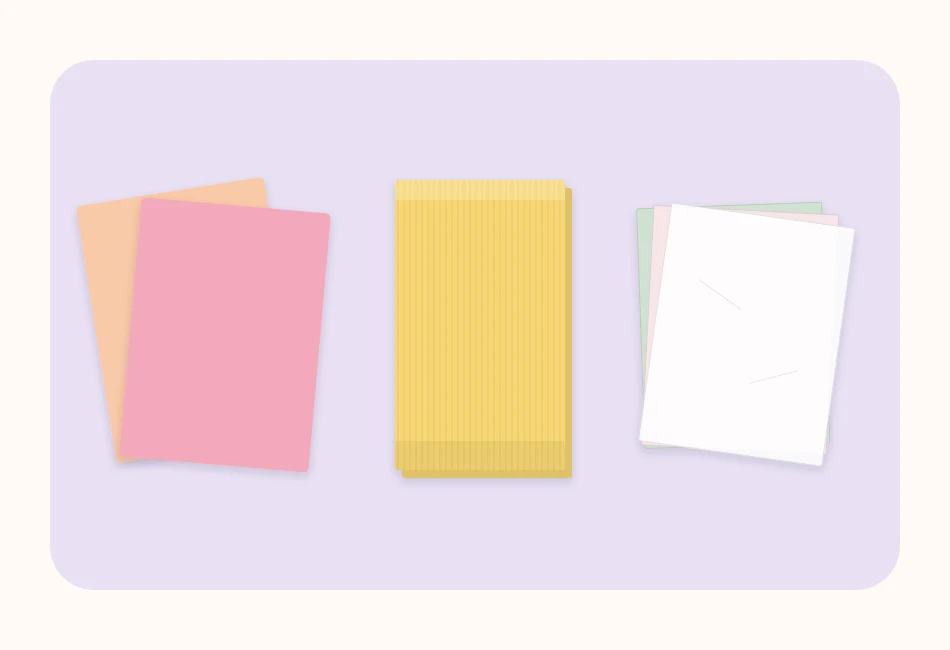
Most paper flowers fall into one of three groups, and the group is decided by the paper.
Cardstock and text-weight paper
Stiff, flat sheets make crisp, graphic flowers: daisies, sunflowers, rolled roses, giant backdrop blooms. The paper holds a curl or a crease but does not stretch, so shape comes from cutting and folding. It is the easiest family to start with because the paper is inexpensive, easy to find and hard to tear by accident.
Crepe paper
Crepe paper is crinkled, so it stretches. That stretch lets a flat petal become a cupped one, which is why crepe is the usual choice for realistic roses, peonies and tulips. It takes a little practice to handle, and the petals are usually attached to a wire stem with floral tape rather than glued flat.
Tissue paper
Thin, soft and cheap, tissue makes fluffy pom flowers from a folded stack. There is almost no cutting and no template. Tissue flowers are fast and good for parties, but they are delicate and do not look botanical.
If you are unsure which family suits a project, the comparison of paper types and weights for flower making goes into more detail.
What you need on day one
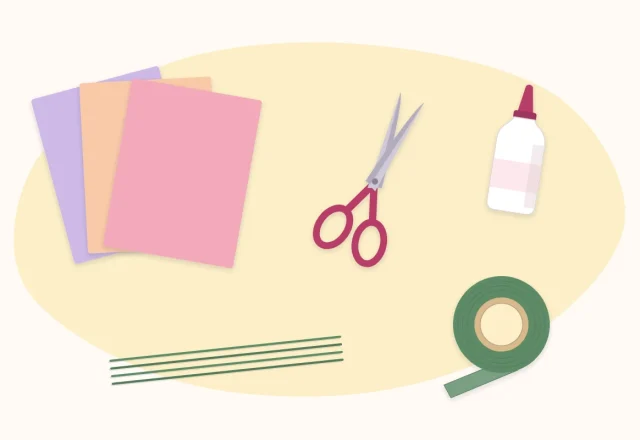
A first flower needs very little:
- Sharp scissors that are comfortable in your hand
- A few sheets of 65 lb (176 gsm) cardstock or ordinary colored paper
- Tacky craft glue, which grabs faster than school glue
- A pencil, plus a round object to trace
- A wooden skewer or the pencil itself for curling petals
Wire, floral tape and a glue gun can wait until you want stems. The full materials and tools checklist sorts everything into what to buy now and what to add later.
Pick a first project by what you want to learn
| Project | Paper | Rough time | What it teaches |
|---|---|---|---|
| Flat daisy | Cardstock | About 15 minutes | Cutting petals from a circle, layering, gluing a center |
| Rolled spiral rose | Cardstock or text weight | About 15 minutes | Cutting a smooth curve, rolling with even tension |
| Tissue pom flower | Tissue | About 20 minutes | Accordion folding, separating thin layers gently |
| Sunflower | Cardstock | About 45 minutes | Fringing, stacking rings, adding a stem |
| Crepe rose | Heavy crepe | About an hour | Stretching and cupping, building petal by petal |
The times are estimates for a first attempt and will vary. Expect the second flower to go noticeably faster than the first.
A sensible order to learn in
- Start flat. An easy paper daisy has no stem and no shaping beyond a gentle curl. It shows how cut shapes turn into a flower and gives a finished result in one sitting.
- Add rolling. Spiral rolled roses use a single piece of paper and one line of glue. They train your hands to control how tight or loose a flower sits.
- Add layers and a center. A sunflower or a cone-petal dahlia repeats one simple shape many times. This is where patience and consistent spacing start to matter.
- Add a stem. Wrapping wire with floral tape is a skill of its own. Practice on a flower you have already made well.
- Move to crepe. Once cutting, gluing and stems feel routine, crepe paper adds only one new idea, the stretch, instead of five at once.
Tip
Make each flower three times before moving on. The first shows you the steps, the second fixes the obvious problems, and the third is usually the one worth keeping.
The four skills behind every flower
Cutting
Turn the paper, not the scissors, and cut with the middle of the blades in long strokes. Petals do not have to match exactly. Real petals differ, and slight variation reads as natural, while jagged edges read as rushed.
Shaping
A flat petal looks like a cutout. Curl the tip over a skewer, pinch the base, or fold a light crease down the middle, and the same petal looks alive. Shaping takes seconds per petal and makes the biggest visible difference.
Gluing
Use less glue than seems right. A thin line at the base of a petal holds better and dries faster than a blob, and it does not squeeze out where it shows. Hold each piece for a slow count of ten before letting go.
Assembling
Work from the outside in on flat flowers and from the center out on stemmed ones. Offset each new ring so petals sit over the gaps in the ring before. That single habit is what makes a flower look full.
Problems most beginners run into
- The flower looks flat.
- The petals were not shaped before assembly. Curl or cup them first; it is difficult to do well afterward.
- Petals keep popping off.
- The glue had not grabbed. Use tacky glue, apply less, and hold longer.
- The paper cracks when folded.
- The paper is too heavy for the fold, or it is being folded against its grain. Try a lighter sheet or score the fold line first.
- The flower droops on its stem.
- The wire is too thin for the head. Use a heavier gauge or double the wire.
Watch out
Hot glue is quick but burns. Low-temperature guns are safer, and children should use tacky glue instead. Supervise young crafters with scissors and wire, and keep finished paper flowers well away from candles and other open flames.
How much space and time to set aside
A cleared corner of a table and a scrap sheet to catch glue are enough. Keep a small dish for offcuts and a damp cloth for sticky fingers, because glue on fingertips ends up on petals. A first session of about an hour is plenty for two or three simple flowers, and stopping while it is still enjoyable is a better plan than pushing through a tenth daisy.
Paper flowers reward repetition more than talent. Choose one simple project, make it a few times, and let the next skill come from the next flower.
Frequently asked questions
What is the easiest paper flower to make first?
A flat cardstock daisy or a rolled spiral rose. Both use one or two simple shapes, need only scissors and glue, and can be finished in a single short session.
Do I need a cutting machine to make paper flowers?
No. Scissors are enough for every beginner project. A cutting machine saves time when making many identical petals, but it does not replace shaping and assembly by hand.
Should a beginner start with crepe paper or cardstock?
Cardstock is usually the gentler start because it is easy to find and does not stretch or tear easily. Crepe paper is worth moving to once cutting, gluing and stems feel comfortable.