Rolled Paper Roses: The Spiral Method for Beginners
Cut a circle into a spiral, roll it from the outside in, and glue it to its own center tab. A quick rose for beginners, with sizing choices and fixes.
Tutorial at a glance
- Difficulty Easy
- Estimated time About 10 minutes per rose
- Recommended paper 65 lb cardstock or 120 gsm text-weight paper, colored through
Materials
- 65 lb cardstock or 120 gsm text-weight paper in rose colors
- Round object to trace or a compass
- Pencil
- Sharp scissors
- Wooden skewer, toothpick or slotted quilling tool
- Tacky craft glue or a low-temperature glue gun
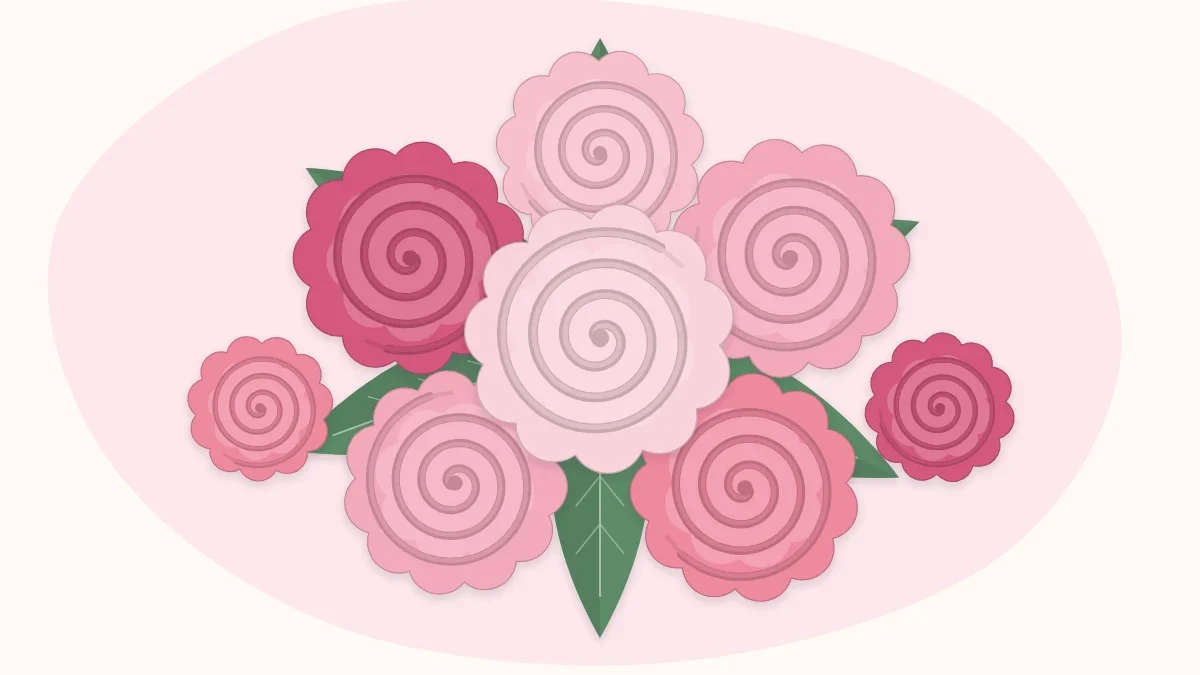
A rolled paper rose starts as a flat circle. Cut the circle into a spiral, roll the spiral up from the outside end, let it relax, and glue it to the small tab left at the center. That is the entire method, and it is why these little roses are a favorite for beginners who need a lot of flowers quickly.
Why the spiral works
A spiral strip is curved, not straight. When a curved strip is rolled up, its outer edge has farther to travel than its inner edge, so the top of the roll flares outward while the bottom stays tight. That flare is what reads as layered petals. A straight strip rolled the same way would only make a cylinder.
This also explains the one rule that matters most: keep the bottom edge of the roll level as it turns. If the bottom stays even, the top takes care of itself.
Materials and paper
- Paper in pinks or any rose color: 65 lb cardstock or 120 gsm text-weight paper
- A round object to trace, or a compass
- Pencil and sharp scissors
- A wooden skewer, toothpick or slotted quilling tool for starting the roll (fingers also work)
- Tacky craft glue, or a low-temperature glue gun
Choose paper that is colored all the way through, because both faces show in the finished rose. Lightweight cardstock is the recommended starting point: it holds its shape and springs open well. Text-weight paper rolls more easily and makes softer, tighter roses. Heavy cardstock above about 80 lb tends to crack along the curl at small sizes.
Four choices that change the rose
| Choice | Starting point | Effect of changing it |
|---|---|---|
| Circle size | 4 inches (10 cm) | A larger circle gives a larger rose; expect a finished flower roughly a third as wide as the circle |
| Strip width | About 1/2 inch (1.3 cm) | A wider strip makes a taller rose with fewer turns; a narrower strip makes a flatter rose with more layers |
| Edge of the cut | Gentle waves | A wavy edge suggests separate petals; a smooth edge looks more like a rosebud or ranunculus |
| How far it unwinds | Let it open to about twice the tight roll | Tight looks like a bud; loose looks like a fully open bloom |
All of these are starting points to adjust by eye after the first rose.
Cut the spiral
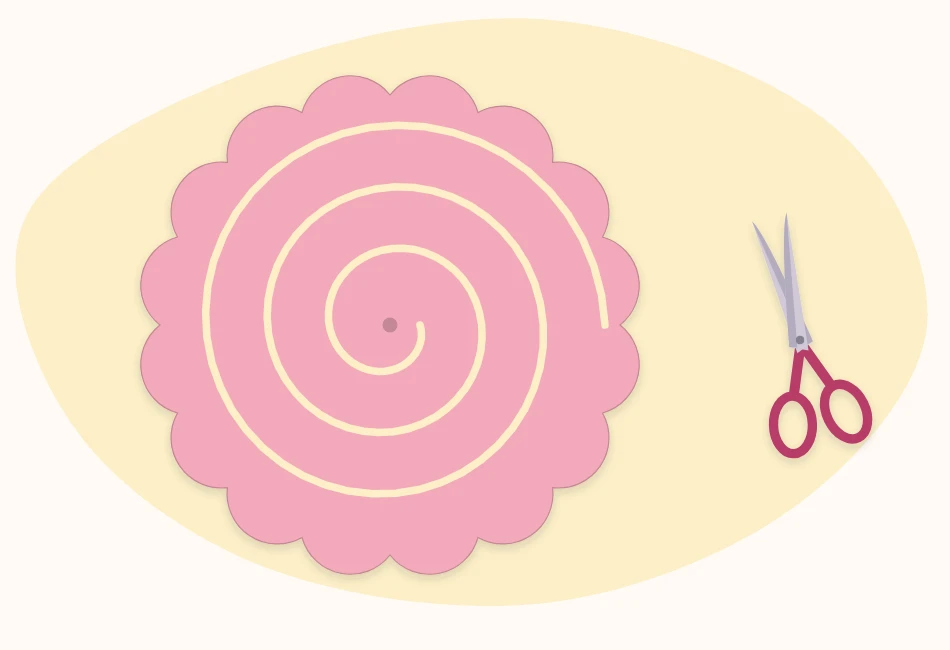
- Cut a circle. Trace and cut a 4-inch (10 cm) circle. It does not need to be perfect; a slightly wobbly outline disappears in the finished rose.
- Start the spiral at the edge. Cut inward at a shallow angle, then turn the paper, not the scissors, keeping the strip about half an inch wide as the cut circles toward the middle.
- Add the waves. For a petaled look, rock the scissors gently so the outer edge of the strip rises and falls in soft bumps about half an inch long. Only the outer edge needs waves; the inner edge will be hidden.
- Stop at the center tab. Leave a rounded tab about three quarters of an inch (2 cm) across at the middle. This becomes the base that the rose is glued to.
Tip
If freehand spirals feel uncertain, draw the spiral lightly in pencil on the back first. The pencil side ends up inside the roll, where it will not be seen.
Roll, release and glue
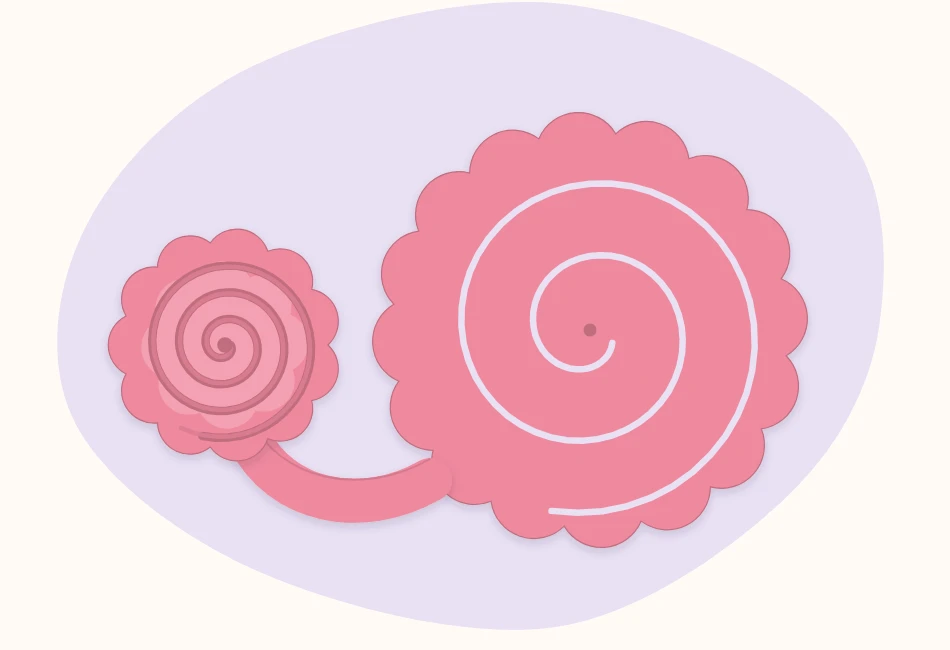
- Begin at the outer end. Pinch the outside tip of the spiral around a skewer or between fingertips and roll it tightly for the first two or three turns. This tight start forms the heart of the rose.
- Keep rolling toward the center. Continue winding, guiding the strip with the other hand and keeping the bottom edge level. The wavy edge should be at the top.
- Reach the tab. When the whole strip is wound, the roll will be sitting on the center tab.
- Let go slowly. Set the roll on the table and ease the grip so it unwinds a little. Stop it when the rose looks right; nudge the coils with a fingertip to even the spacing.
- Glue to the tab. Lift the coil, cover the tab with glue, and press the bottom of the coil onto it. Hold for 20 to 30 seconds with tacky glue, or a few seconds with hot glue.
- Shape the petals. Once the glue has set, bend the outermost edge outward with a thumbnail to open the bloom.
Watch out
Hot glue comes through thin paper quickly and can burn fingertips pressing a small rose onto its tab. Use a low-temperature gun, press with a skewer instead of a finger, or choose tacky glue when crafting with children.
Troubleshooting by symptom
The rose rises into a cone
The bottom edge drifted while rolling, so each turn sat higher than the last. Before gluing, press the coil gently down on the table to level it, and watch the bottom edge next time.
It springs open completely
The first turns were too loose, or the paper is very stiff. Re-roll with a tighter start and hold the coil closed a little longer before releasing it gradually.
It will not open at all
Thin paper has little spring. Loosen the coils by hand before gluing, or move up to lightweight cardstock.
The strip tears at a wave
The waves were cut too deep and left a weak spot. Keep the dips shallow, no more than a quarter of the strip width.
There is a hole in the center
The skewer left a gap. Pinch the heart closed, or tuck in a tiny rolled scrap of the same paper with a dot of glue.
What to do with a pile of small roses
Rolled roses have flat bases, so they glue easily to almost any surface, and they are quick enough to make by the dozen. Mixed sizes look better together than one size repeated: try circles of 3, 4 and 6 inches (7.5, 10 and 15 cm) in two or three related pinks.
- Cluster three on a wrapped present in place of a bow, as described in the tutorial on paper flower gift toppers.
- Cover a ring base for a full, textured paper flower wreath.
- Glue single roses to wrapped wires and tuck them in as filler flowers around larger blooms.
- Decorate the corner of a picture frame, a card front or a place card.
Cutting smooth, even curves gets easier with practice and with the right scissors grip. The guide to cutting petals with clean edges covers the technique that applies here as well: move the paper, keep the scissors steady.
Frequently asked questions
What size circle makes what size rolled rose?
As a rough starting point, expect the finished rose to be about a third as wide as the circle, so a 4-inch (10 cm) circle gives a rose a little over 1 inch (about 3 cm) across. The result also depends on strip width and how far the coil is allowed to unwind.
What is the best paper for rolled paper roses?
Lightweight 65 lb cardstock is a good starting choice because it holds its shape and springs open well. Text-weight paper around 120 gsm rolls more easily and gives softer roses. Use paper that is colored on both sides, since both faces show.
Do you roll a spiral rose from the outside or the center?
From the outside end. Roll tightly at first to form the heart of the rose, then keep winding inward until the coil sits on the round tab at the center, which becomes the base.