Paper Flower Gift Toppers: Dress Up a Wrapped Present
Replace the bow with a flat-backed cardstock flower. This tutorial covers petal sizes, shaping, assembly and how to attach the topper so it stays put.
Tutorial at a glance
- Difficulty Easy
- Estimated time About 30 minutes, plus drying time
- Recommended paper 65 lb cardstock (about 176 gsm)
Materials
- 65 lb cardstock in one flower color
- Green cardstock scrap for leaves
- Yellow or contrasting paper strip for the center
- Sharp scissors and a pencil
- Tacky craft glue or a low-temperature hot glue gun
- Skewer or pencil for curling
- Double-sided tape or foam adhesive squares
- Ribbon (optional)
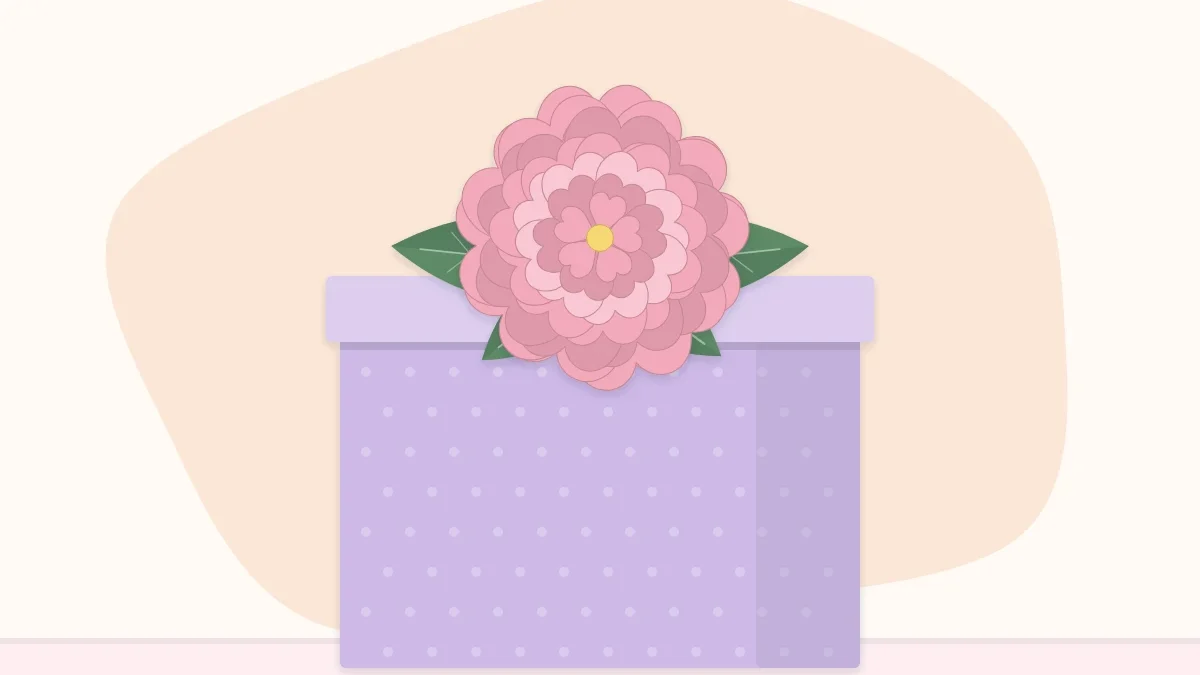
A gift topper is a paper flower designed to sit flat on a wrapped present in place of a bow. That one requirement changes how it is built: the back must be flat so it sticks firmly, the profile low enough to survive a gift bag, and the whole thing light enough that tape can hold it. The layered flower below meets all three and uses only cardstock, scissors and glue.
What makes a good topper
- A flat back. Petals are glued to a cardstock circle, so there is a solid surface to tape down.
- A low profile. Petals curl up gently instead of standing tall, keeping the flower under about 1 inch (2.5 cm) high.
- The right scale. As a starting point, aim for a flower about one third to one half the width of the box top. The sizes below give a flower roughly 4 inches (10 cm) across, which suits a box around 8 to 10 inches (20 to 25 cm) wide. Scale the petals up or down for other boxes.
Materials
- 65 lb cardstock (about 176 gsm) in one flower color, or two close shades
- A scrap of green cardstock for leaves
- A scrap of yellow or contrasting paper for the center
- Sharp scissors and a pencil
- Tacky craft glue, or a low-temperature hot glue gun
- A pencil, skewer or thin dowel for curling
- Double-sided tape or foam adhesive squares for attaching
- Ribbon, about 1 yard (90 cm), optional
Cardstock is recommended over crepe or tissue here because it resists crushing. Avoid anything heavier than about 80 lb, which tends to crack when curled.
Cut the pieces
All sizes are starting points and can be adjusted.
| Piece | Quantity | Size |
|---|---|---|
| Base circle | 1 | 1.5 in (4 cm) across |
| Large petals | 6 | 2 in long x 1.25 in wide (5 x 3 cm) |
| Medium petals | 5 | 1.5 in long x 1 in wide (4 x 2.5 cm) |
| Small petals | 4 | 1 in long x 0.75 in wide (2.5 x 2 cm) |
| Center strip | 1 | 0.5 x 4 in (1.2 x 10 cm) |
| Leaves | 2 | 2.5 in long x 1 in wide (6.5 x 2.5 cm) |
Use a rounded teardrop for the petals: wide and curved at the top, narrowing to a flat base about 0.25 inch (6 mm) wide. Draw one of each size on scrap paper, cut it out and trace around it. Folding the cardstock in half lets two petals be cut at once. For cleaner results, the guide to cutting petals from templates explains how to turn the paper rather than the scissors.
Shape before gluing
- Slit the base of each petal. Cut a slit about 0.4 inch (1 cm) long up the center of the narrow end of every petal.
- Overlap and glue the slit. Slide one side of the slit over the other by a small amount and glue it. This gives each petal a shallow cup. A bigger overlap makes a deeper cup, so keep it slight for the large petals and a little deeper for the small ones.
- Curl the tips. Roll the top edge of each petal backward over a pencil. Curl large petals outward; leave the small petals nearly straight so they stand up around the center.
- Crease the leaves. Fold each leaf in half lengthwise, then open it again for a center vein.
- Fringe the center. Snip along one long edge of the center strip, cutting about two thirds of the way across, every 1/16 inch or so. Roll the strip tightly, glue the end, and fan the fringe out with a fingertip.
More ways to add dimension are covered in the guide to curling and cupping petals.
Assemble the flower
- Glue the large ring. Put a dot of glue on the underside of each large petal base and press the six petals around the edge of the base circle, evenly spaced, tips pointing out. The petal bases should meet near the middle of the circle.
- Add the medium ring. Glue the five medium petals slightly closer to the center, each one over a gap between two large petals.
- Add the small ring. Glue the four small petals close to the center, standing more upright.
- Set the center. Put a generous dot of glue in the middle and press the rolled fringe into it. Hold for several seconds.
- Attach the leaves. Turn the flower over and glue the two leaves to the back of the base circle so they peek out on one side at a slight angle to each other.
- Let it dry flat. Give tacky glue at least 20 to 30 minutes before handling.
Watch out
Hot glue speeds this project up but can burn fingers through thin cardstock. Use a low-temperature gun, press petals down with a skewer instead of a fingertip, and keep the gun out of reach of children.
Attach it to the gift
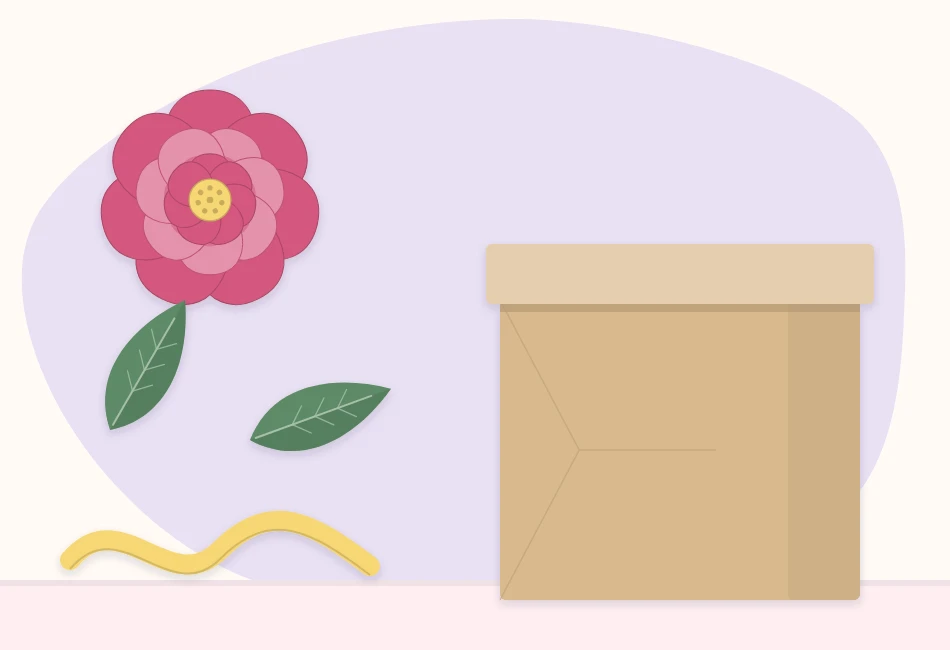
Wrap the box first, in plain or quietly patterned paper so the flower stands out. If using ribbon, tie it around the box before adding the flower, and place the flower where the ribbon crosses or just off to one side of it.
Fix the flower with two or three pieces of double-sided tape or foam adhesive squares on the base circle, then press down through the center for a few seconds. Foam squares lift the flower slightly and help it sit level over a ribbon. Tape is preferable to glue because the recipient can peel the flower off and keep it.
If this happens, do that
| Problem | Fix |
|---|---|
| The flower rocks instead of sitting flat | Petal bases are overlapping the edge of the base circle. Glue a second, slightly larger cardstock circle to the back. |
| Petals pop off the base | The glue did not have time to grip. Reattach and hold each petal for a slow count of twenty. |
| The flower looks flat | Deepen the overlap at the slits of the inner petals and re-curl the outer tips. |
| The topper falls off glossy wrapping paper | Use foam adhesive squares, or tuck the base under the ribbon as well. |
| The flower will be crushed in transit | Carry it separately in a small box and attach it on arrival. |
Variations
- Cluster of small roses. Three small spiral flowers grouped with a pair of leaves make a lovely topper for a small box; see the method for rolled spiral roses.
- Pointed petals. Swap the rounded teardrop for a pointed petal and use red and green for a holiday look.
- Tag included. Glue a small blank tag behind the leaves so the name sits under the flower.
- Bottle or bag topper. Punch a hole in the base circle before assembly and thread ribbon through it to tie the flower to a bottle neck or bag handle.
A topper also works as the gift itself for small occasions. For other options, see these paper flower gifts by occasion.
Frequently asked questions
How big should a paper flower gift topper be?
A useful starting point is a flower about one third to one half the width of the box top. A 4 inch (10 cm) flower suits a box roughly 8 to 10 inches (20 to 25 cm) wide.
How do you attach a paper flower to a wrapped gift?
Use double-sided tape or foam adhesive squares on the flat back of the flower and press down through the center. Tape lets the recipient remove the flower and keep it, which glue does not.
Can a gift topper be made ahead of time?
Yes. Store finished toppers face up in a lidded box in a dry, dark place and attach them on the day so the petals are not crushed by handling.