Paper Flower Stems and Leaves: Wire, Tape and Simple Shapes
Choose the right wire gauge, wrap a stem with floral tape and add simple wired leaves. A practical guide to finishing any paper flower.
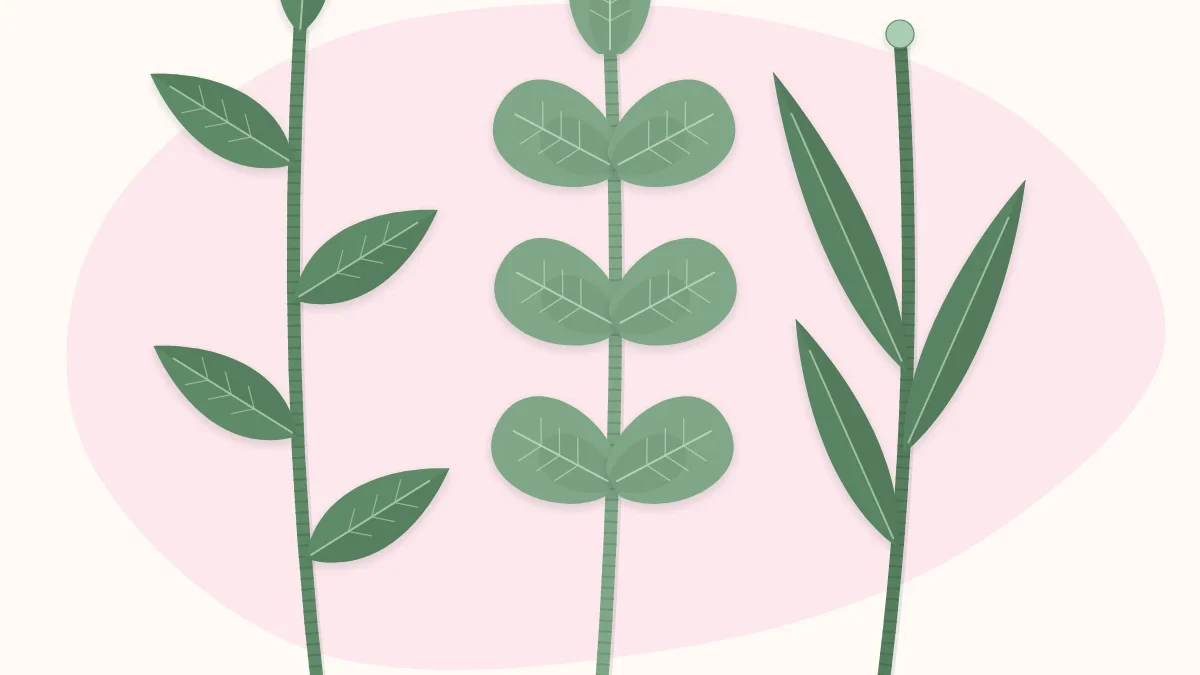
A stem and a pair of leaves are what turn a paper bloom into something that can stand in a vase or be tied into a bouquet. The method is the same for nearly every flower: a wire for strength, floral tape to cover it and hold things in place, and simple leaf shapes attached on the way down. Once the taping motion is familiar, a stem takes only a few minutes.
Choosing the wire
Floral wire is sold by gauge, and the numbering runs backward: the higher the gauge, the thinner the wire. It comes either bare or wrapped in green paper or cloth. Wrapped wire is easier for beginners because glue and tape grip it better.
| Gauge | Feel | Use it for |
|---|---|---|
| 16 to 18 | Stiff, holds a straight line | Main stems for medium and large flowers |
| 20 to 22 | Firm but easy to bend | Stems for small flowers, heavier leaves |
| 24 to 26 | Thin and flexible | Leaf veins, tiny buds, binding parts together |
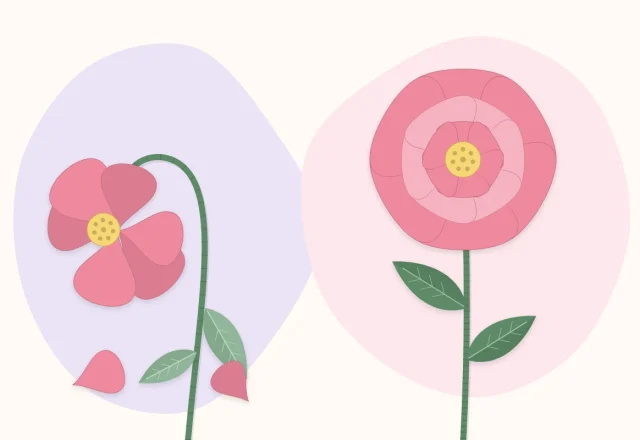
If a flower head nods on its stem, the wire is too thin for it. Tape two wires together side by side, or move down to a lower gauge. For flowers that will never be handled, such as those glued into a fixed arrangement, wooden skewers and paper straws are workable substitutes. The materials and tools checklist lists what is worth buying first.
Watch out
Cut wire ends are sharp and can flick away when snipped. Use wire cutters, not paper scissors, point the end down toward the table as you cut, and fold or tape over every exposed tip. Keep loose wire pieces away from small children.
Attaching the flower to the stem
How the wire meets the flower depends on how the flower is built.
- Flowers built on the wire: crepe roses, peonies and tulips are usually assembled by wrapping petals directly around the top of the stem, so the join is already made.
- Flat-backed flowers: bend the top 1/2 inch (1.3 cm) of the wire into a small flat loop at a right angle to the stem, like a tiny lollipop. Glue the loop to the back of the flower and cover it with a small paper circle.
- Rolled flowers: make a small hook at the top of the wire, push the straight end down through the center of the flower from above, and pull until the hook catches inside. Add a drop of glue underneath.
Where the flower meets the stem, a calyx tidies the join. Cut a small green star or a strip with pointed teeth, wrap or glue it around the base of the bloom, and start the tape just below it.
Wrapping with floral tape
Floral tape is not sticky like ordinary tape. It is a waxy crepe ribbon that only becomes tacky when stretched, which is the reason it so often seems not to work the first time.
- Cut a manageable length. About 12 inches (30 cm) is easier to control than tape coming straight off the roll.
- Stretch the first inch until it is noticeably thinner and paler, then press it around the base of the flower and pinch so it grips itself.
- Angle the tape downward at roughly 45 degrees to the wire.
- Twirl the stem, not the tape. Spin the wire between thumb and forefinger of one hand while the other hand keeps the tape stretched and guides it down. Each turn should overlap the previous one by about half.
- Add leaves as you reach them (see below), wrapping over each leaf wire two or three times before moving on.
- Finish at the bottom. Wrap just past the end of the wire, tear the tape, and smooth the end down with warm fingers.
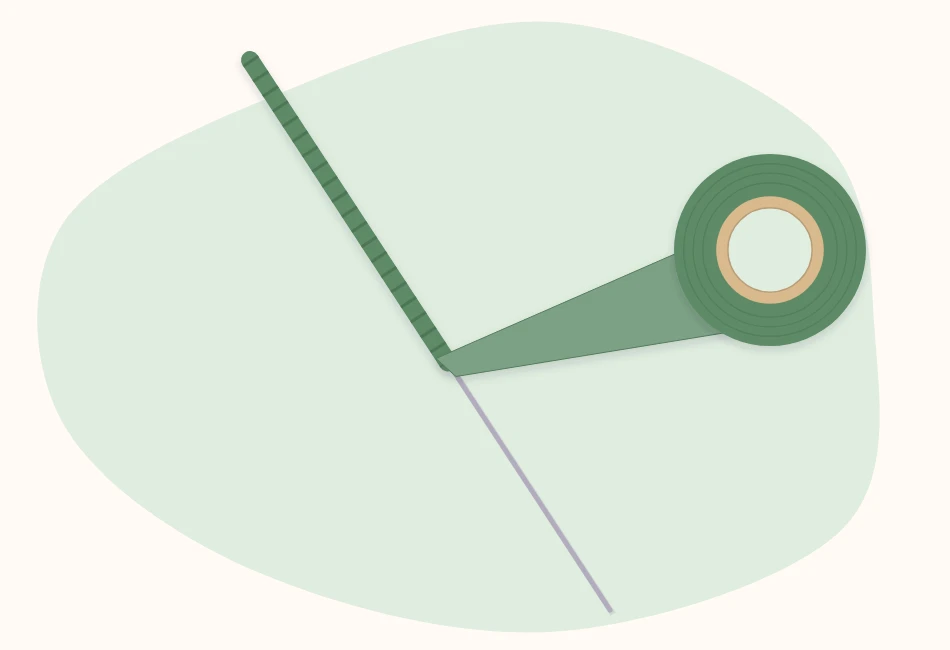
For a thicker, more natural stem, wrap a narrow strip of paper towel or tissue around the wire first, then tape over it. An alternative to tape is a 1/2 inch (1.3 cm) strip of green crepe paper cut across the grain, wound down the wire with a thin line of tacky glue.
Simple leaves that look right
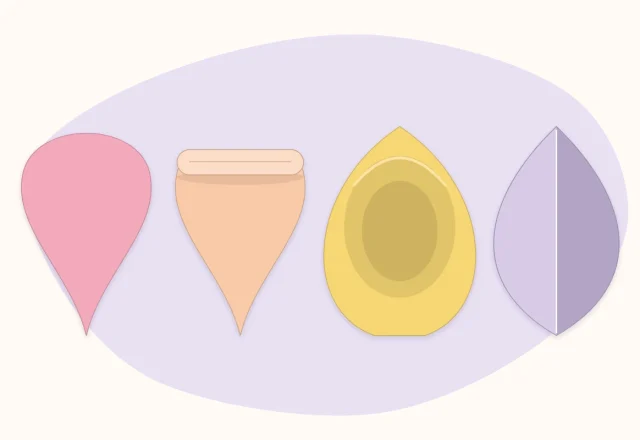
Leaves do not need to be botanically exact; shape and proportion do most of the work. Three basic outlines cover a lot of ground.
| Leaf shape | How to cut it | Suits |
|---|---|---|
| Pointed oval | Fold paper in half, cut a half almond against the fold; snip tiny notches for a serrated edge | Roses, peonies, most general-purpose stems |
| Long blade | A narrow strip tapered to a point, slightly wider near the base | Tulips, daffodil-style flowers |
| Broad heart | Fold in half, cut half a wide heart with a pointed tip | Sunflowers and other large blooms |
Real plants differ a great deal in leaf form; the photographs in the Royal Horticultural Society’s guide to roses are a helpful reference for how leaflets sit on a rose stem. As a starting proportion, make each leaf about half to two thirds the width of the open flower.
Wiring a leaf
- Crease the leaf down the center so it opens to a shallow V.
- Cut a piece of 24 or 26 gauge wire about 2 inches (5 cm) longer than the leaf.
- Run a thin line of tacky glue along the back of the crease, from just below the tip to the base.
- Press the wire into the glue, leaving the extra length sticking out at the base as a little stalk, and hold until it grabs.
- Let it dry, then bend the leaf into a gentle arc.
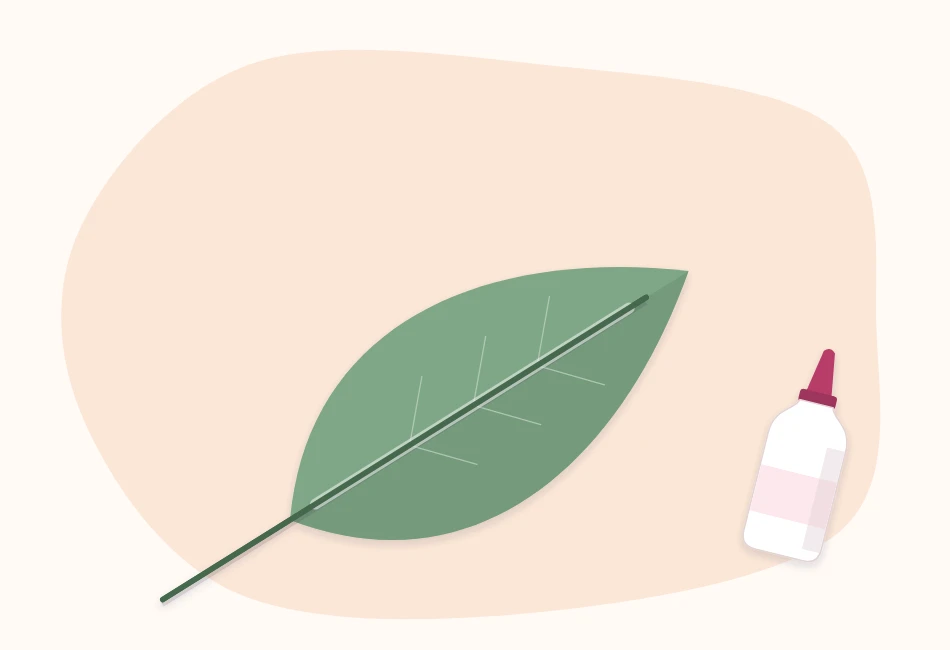
To hide the wire completely, glue a second, identical leaf on top so the wire is sandwiched between the two. Unwired cardstock leaves are fine for small flowers: fold a narrow tab at the base and tape over the tab.
Placing leaves on the stem
Hold the leaf stalk against the main stem, pointing down, and tape over it. Stagger the leaves at different heights and on different sides instead of pairing them at one point, and start the first leaf at least 2 inches (5 cm) below the bloom so the flower is not crowded. Then bend each leaf outward, and put a slight curve in the main stem; perfectly straight stems are the quickest giveaway that a flower is paper.
Quick fixes
- The tape will not stick. It is not being stretched enough, or the roll is old and dried out.
- The flower head spins on the wire. Add glue at the join and make a hook or loop next time, so the wire has something to grip.
- The stem looks lumpy. Too much overlap. Stretch the tape further and steepen the angle.
- Leaves droop. Use a wire one step thicker, or shorten the leaf stalk.
With stems finished, flowers are ready to be combined. A hand-tied paper bouquet relies on taped stems to hold its shape, and stem length matters just as much when arranging stems in a vase.
Frequently asked questions
What gauge wire is best for paper flower stems?
For medium and large flowers, 16 to 18 gauge wire is stiff enough to hold the head upright. Small flowers can use 20 to 22 gauge, and thin 24 to 26 gauge wire is for leaf veins and binding. Higher gauge numbers mean thinner wire.
Why is my floral tape not sticking?
Floral tape only becomes tacky when it is stretched. Pull it until it turns thinner and paler as you wrap, and overlap each turn by about half. An old roll that has dried out may no longer grip well.
Can paper flower stems be made without wire?
For flowers that will not be handled much, wooden skewers or paper straws can work as stems. They cannot be bent into a natural curve, so wire remains the better choice for bouquets and arrangements.