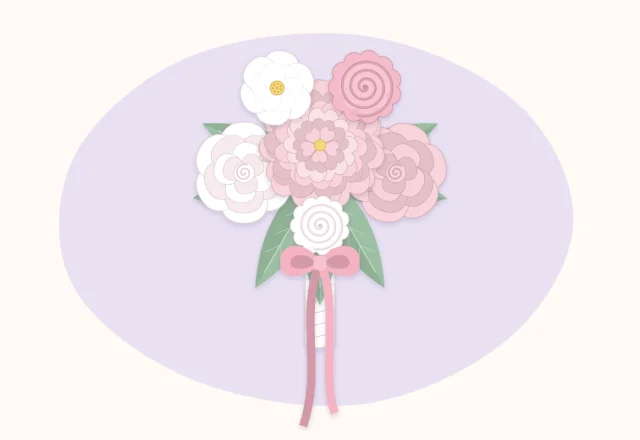
How to Make a Paper Flower Bouquet That Holds Its Shape
Turn finished paper flowers into a round, hand-tied bouquet with a firm binding point, a domed top and a neat ribbon handle.

Tutorial at a glance
- Difficulty Intermediate
- Estimated time About 1 hour, with the flowers already made
- Recommended paper Finished flowers in crepe paper or 65 lb cardstock, on wire stems
Materials
- 5 to 7 large focal flowers on 18-gauge wire stems
- 8 to 12 small filler flowers on 20- or 22-gauge wire
- 6 to 10 paper leaves on wire
- Green floral tape
- Wire cutters
- Ribbon, about 1 inch (2.5 cm) wide and 1 yard (90 cm) long
- Tacky craft glue or low-temperature glue gun
- Kraft paper sheet and twine (optional)
A paper flower bouquet holds its shape when three things are right: the stems are stiff enough to carry the flower heads, every stem is locked at a single binding point, and the heads form a dome instead of a flat bunch. None of that takes special skill. It takes finished flowers on wire stems, a roll of floral tape and about an hour of unhurried assembly.
What to gather
- 5 to 7 large focal flowers on 18-gauge wire stems, about 12 inches (30 cm) long
- 8 to 12 small filler flowers or buds on thinner 20- or 22-gauge wire
- 6 to 10 paper leaves on wire
- Green floral tape
- Wire cutters (not the good paper scissors)
- Ribbon about 1 inch (2.5 cm) wide, roughly 1 yard (90 cm)
- Tacky craft glue or a low-temperature glue gun
- Optional: a sheet of kraft paper about 16 x 20 inches (40 x 50 cm) and a length of twine
Almost any stemmed flower can go into a bouquet. A petal-by-petal crepe rose makes a strong focal flower, while small spiral roses glued to thin wires are quick fillers. If some flowers are still stemless, the guide to wire stems and paper leaves covers how to add them before starting here.
How many flowers for which size
These counts are starting points. Fuller flowers cover more space, so fewer are needed; flat or small flowers need more.
| Bouquet | Finished width | Focal flowers | Fillers | Leaves |
|---|---|---|---|---|
| Posy | About 6 in (15 cm) | 3 | 5 to 6 | 4 to 5 |
| Medium | About 8 in (20 cm) | 5 to 7 | 8 to 12 | 6 to 10 |
| Large | About 10 in (25 cm) | 9 to 11 | 14 to 18 | 10 to 12 |
Sort the stems before building
Lay everything out in three groups: focal flowers, fillers, leaves. Building goes faster when the next stem is within reach, and sorting shows early whether the colors are balanced or one group is short.
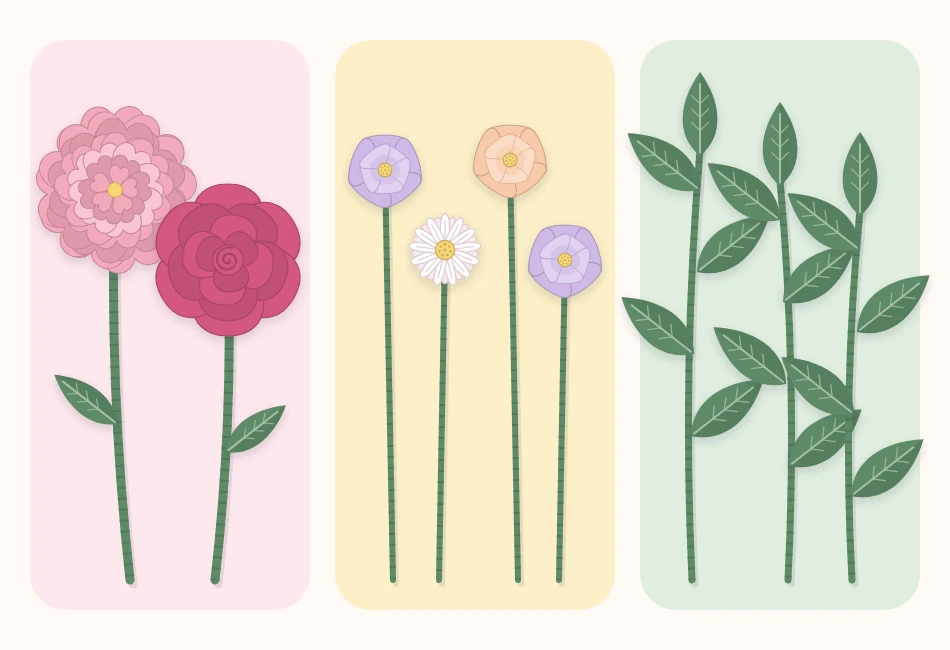
Test each stem by holding it at the bottom and tipping the flower sideways. If the head droops, tape a second wire alongside the first. A weak stem cannot be fixed once it is buried in the middle of the bundle.
Build the bouquet
- Start with the center flower. Hold the best focal flower upright in the non-dominant hand. Grip it about 5 to 6 inches (13 to 15 cm) below the head. That grip is the binding point, and it stays in the same place until the end.
- Add the first ring. Place three or four focal flowers around the center one, each sitting slightly lower. Lay every new stem across the bundle at a slant, always leaning the same way, so the stems form a loose spiral instead of a straight bunch.
- Turn and fill. Give the bouquet a quarter turn after each addition. Tuck fillers into the gaps between the larger heads, letting a few sit a little higher for depth.
- Tape a temporary hold. When the bundle gets hard to grip, wrap floral tape twice around the binding point. This frees the hand for a moment and stops the center from shifting.
- Add the outer ring. Place the remaining focal flowers and fillers around the outside. Bend each outer stem gently outward just under the flower head so the heads face out and slightly down. This bend is what creates the dome.
- Frame with leaves. Slide leaves in around the edge and one or two between flowers. Leaves hide wire and soften the outline.
- Check from a distance. Hold the bouquet at arm’s length or in front of a mirror. Look for flat spots, color clumps and visible wire, and adjust individual heads by bending their stems.
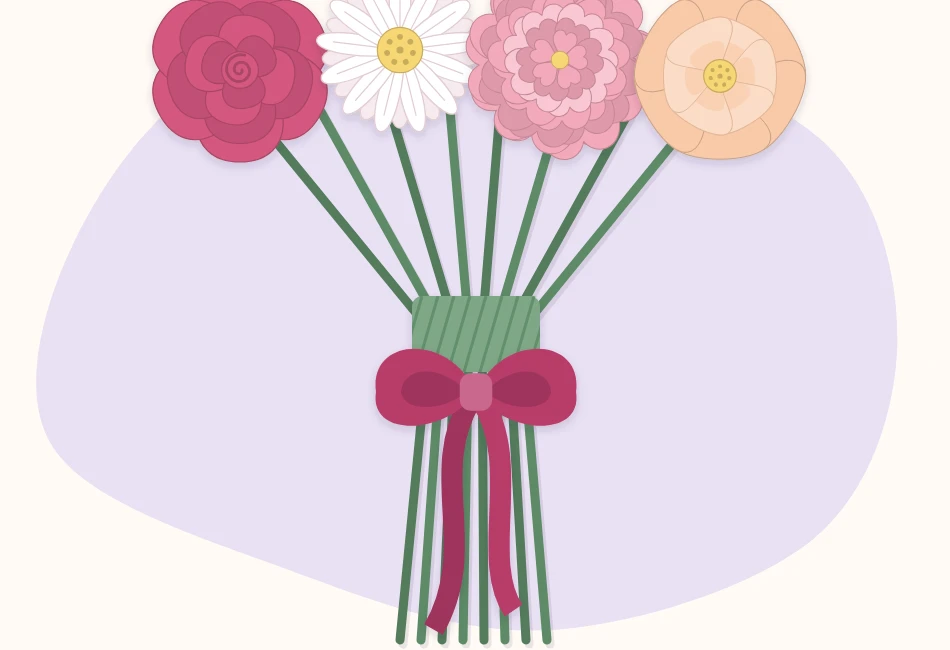
- Bind firmly. Wrap floral tape around the binding point, stretching it while wrapping so it grips, until the band is about 2 inches (5 cm) wide and nothing slides.
- Trim the stems. Cut the wires one or two at a time to an even length, leaving a handle of 5 to 6 inches (13 to 15 cm) below the binding. Wrap tape over the cut ends so no sharp wire is exposed.
- Finish the handle. Cover the whole handle with floral tape, then spiral the ribbon from the bottom up to the binding. Fix the end with a dot of glue and add a bow if wanted.
Watch out
Cut wire ends are sharp and can spring away when clipped. Point stems toward the table while cutting, and cover every end with tape. Hot glue burns, so keep fingers clear of the nozzle and fresh glue.
Add a kraft paper wrap
Place the kraft sheet on the table like a diamond, with one corner pointing up. Fold the bottom corner up by about a third. Lay the bouquet on top so the heads sit just above the upper edge, then bring the left and right sides around the stems, overlapping them at the front. Tie twine or ribbon around the wrap at the binding point. The paper should hug the stems and flare open around the flowers without pressing on the petals.
If the bouquet misbehaves
The heads flop outward
The binding is too low or too loose. Add a second band of tape about an inch (2.5 cm) higher, pulling it tight.
The top looks flat
The center flower sits level with the rest. Push its stem up from below by half an inch (about 1 cm) and bend the outer heads down a little more.
Gaps show between flowers
Slide a leaf or a small filler into the gap from above, then tape its stem to the outside of the handle. There is no need to undo the binding.
The handle is too thick to hold
Trim the thin filler wires shorter than the main stems before taping, so only the strong wires run the full length of the handle.
Variations
For a looser, garden-style bouquet, let fillers and leaves stand an inch or two above the focal flowers and skip the outward bend on a few stems. For a single-color bouquet, mix three shades of one color so the flowers stay readable. A bouquet meant to live on a shelf can skip the ribbon and stand in a jar; the notes on arranging paper flowers in a vase explain how to keep it upright.
Tip
Take a quick photo before the final binding. Flat spots and crowded colors are easier to see in a picture than in the hand.
Frequently asked questions
How many paper flowers are needed for a bouquet?
As a starting point, a medium bouquet about 8 inches (20 cm) wide uses 5 to 7 large flowers, 8 to 12 small fillers and 6 to 10 leaves. Fuller flowers cover more space, so the count can go down.
Why does a paper flower bouquet fall apart or look flat?
Usually the stems are bound too low or too loosely, or every flower sits at the same height. Bind tightly about 5 to 6 inches below the heads, keep the center flower highest and bend the outer stems outward.
Can flowers without wire stems go into a bouquet?
They need stems first. Glue or tape each flower to a floral wire, wrap the wire with floral tape, and let the glue set fully before assembling the bouquet.