How to Shape Paper Petals: Curling, Cupping and Creasing
Three shaping moves turn flat cutouts into petals: curling the edge, cupping the body and creasing the center. Here is how each works on cardstock and crepe.
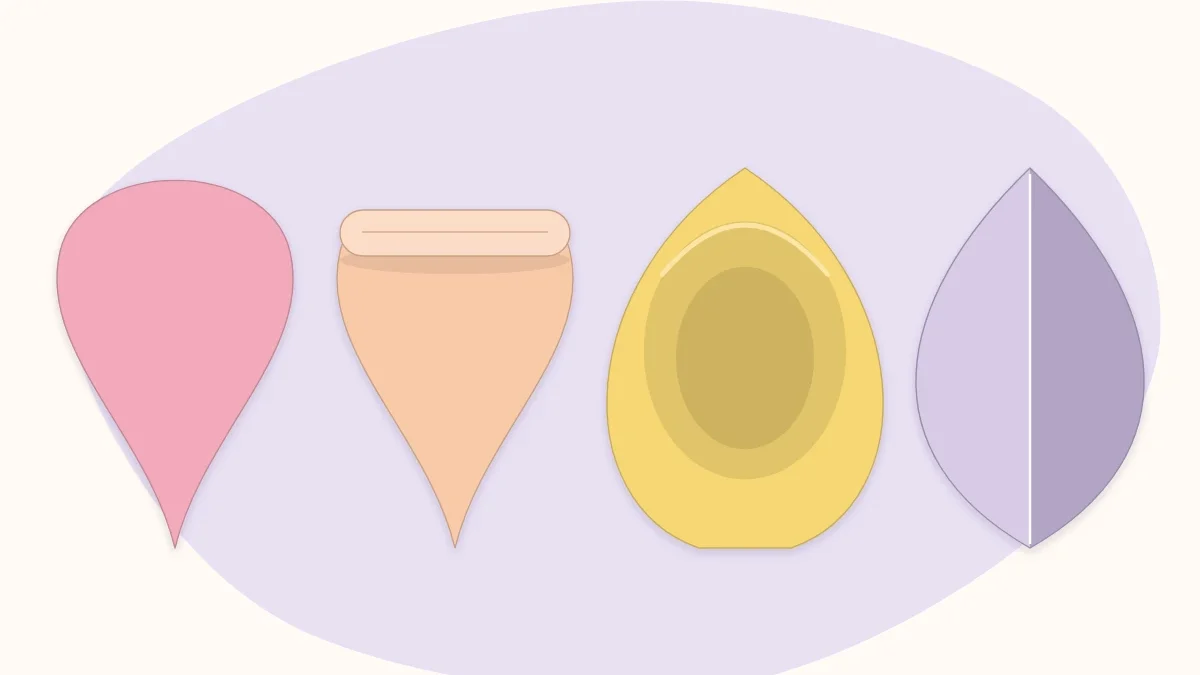
A flat petal looks like a paper cutout; a shaped petal looks like part of a flower. Shaping takes a few seconds per petal and comes down to three moves: curling the edge, cupping the body and creasing the center. Which move works depends on the paper, so the first thing to know is what your paper can and cannot do.
What each paper allows
| Technique | Cardstock and text paper | Crepe paper | Tissue paper |
|---|---|---|---|
| Curling | Yes, holds very well | Yes, gently | Barely; too soft to hold |
| Cupping by stretching | No, paper does not stretch | Yes, its main strength | No |
| Cupping by pressing or slitting | Yes | Not needed | No |
| Creasing | Yes, crisp lines | Soft pinches only | Light scrunching |
Curling
Curling bends the tip or sides of a petal so it rolls outward or inward. It is the technique that does the most for cardstock flowers.
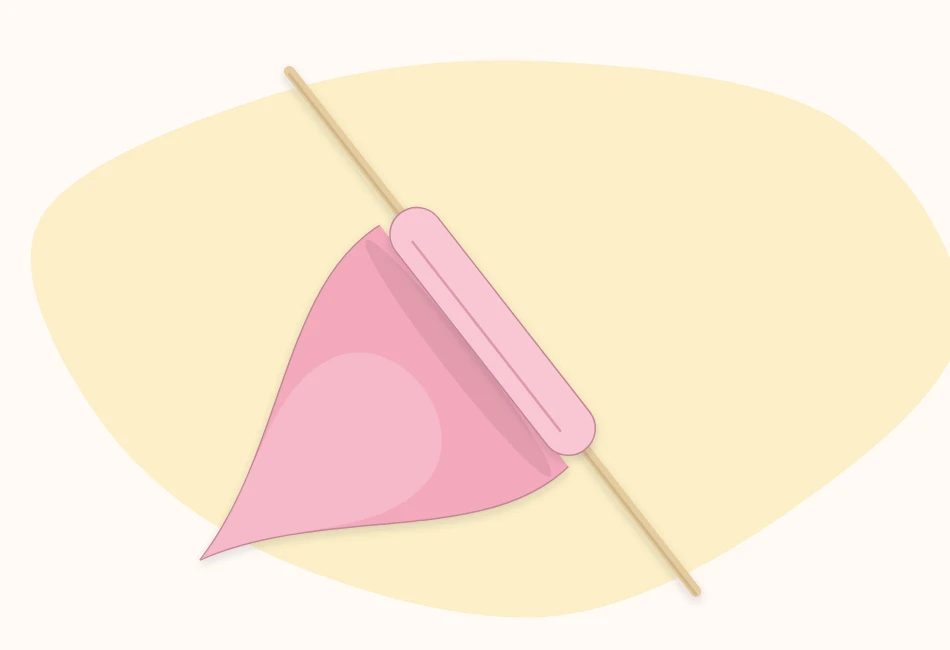
Around a tool
- Choose a round tool. A wooden skewer or toothpick gives a tight curl, a pencil a medium one, a thick marker a broad, loose one.
- Lay the tool across the petal tip on the side the petal should curl toward.
- Roll the paper around it for one half to one full turn, keeping light tension, and hold for two or three seconds.
- Slide the tool out sideways. The curl will relax slightly, so roll a little tighter than the final look.
Over a blade edge
For a long, gentle curve along the whole petal, hold the petal between your thumb and the closed blades of a pair of scissors, or a bone folder, and pull the petal through with light pressure, the way ribbon is curled. One or two passes are enough. Pressing hard scrapes the surface and can tear the petal.
Which direction?
- Outward (tip rolls back, away from the center): open, mature blooms. Use it on outer rose petals and daisies.
- Inward (tip rolls toward the center): buds and tight centers, and the inner rows of dahlias and peonies.
- Two corners outward: curl the left and right corners of a rounded petal separately, on a diagonal, for the classic rose-petal point.
Tip
On a flower with several rows, curl the inner rows inward and the outer rows outward. That single change gives a flat stack of petals visible depth.
Cupping
A cupped petal is curved like the bowl of a spoon. How to get there depends entirely on the paper.
Crepe paper: stretch it
Hold the petal with both thumbs side by side in the middle and fingers behind. Gently pull the thumbs apart, sideways across the grain, while pushing forward a little. The center widens and deepens while the edges stay tight, forming a cup. Stretch the lower two thirds for a tulip or rose, or only the upper middle for a petal that flares at the top.
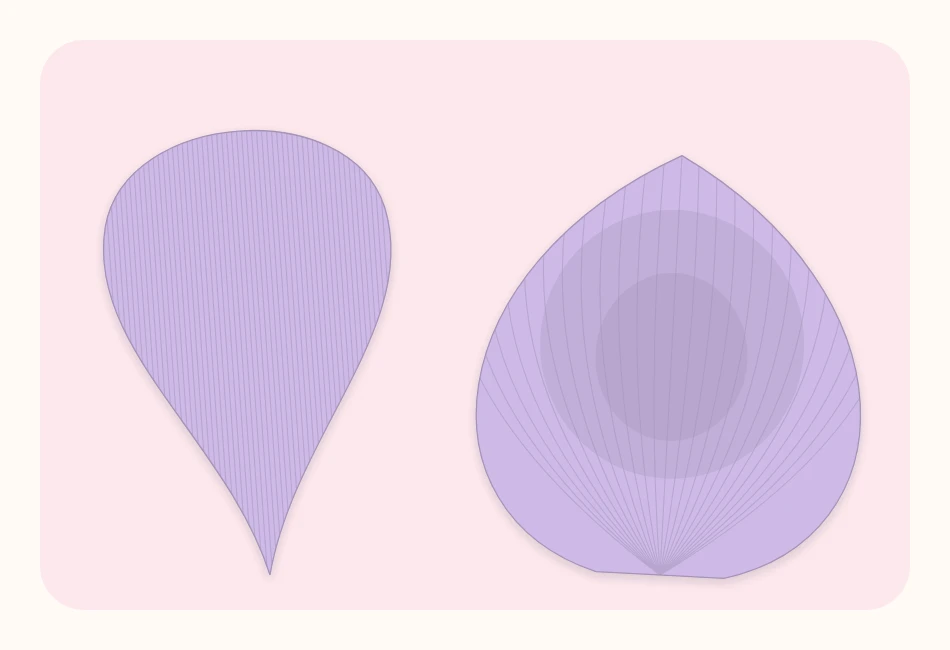
Stretch only works across the grain, which is why crepe petals are cut with the grain running base to tip. Stretching also cannot be undone: once the crinkle is pulled out, that part of the paper is flat for good, so go in small pulls. Petals for a petal-by-petal crepe rose use deep cups on the inner petals and a cup plus a rolled-back edge on the outer ones, while cupped tulip petals are stretched low and left almost straight at the tip.
Cardstock: press it or slit it
Cardstock cannot stretch, so it needs a different route to the same shape.
- Pressing: lay the petal on a soft surface such as a foam mat, a folded towel or a mouse pad. Rub the center in small circles with a rounded tool, like the back of a spoon or a ball-ended stylus. The paper fibers compress and the petal domes. This works best on small petals and lighter cardstock.
- Slit and overlap: cut a slit about 1/2 to 1 inch (1.3 to 2.5 cm) long into the base of the petal, slide one side over the other and glue. The wider the overlap, the deeper the cup. This is the standard method for large backdrop petals.
Creasing
A crease adds a line of structure, like the midrib of a real petal or leaf, and stiffens a floppy petal.
- Center fold: fold the petal in half lengthwise, press the fold with a fingernail, and open it to a shallow V. Suits pointed petals for sunflowers, daisies and poinsettias, and nearly all leaves.
- Scored line: on heavy cardstock, first draw the line with a bone folder or an empty ballpoint pen against a ruler, then fold along it. Scoring prevents the cracked, ragged fold that heavy paper gives when folded cold.
- Pinch at the base: pinch the bottom 1/4 inch (6 mm) of the petal into a small fold and secure with a dot of glue. The petal lifts away from the flower center instead of lying flat.
- Soft pleats: for crepe, gather the base into two or three tiny pleats between the fingertips to make a ruffled, peony-like petal.
Combining the moves, and in what order
Most petals look best with two techniques. A dependable order is: cut cleanly, cup or crease the body, then curl the edges last, since cupping tends to undo a curl made earlier. Shape every petal before any glue comes out; shaping a petal that is already attached usually bends or loosens its neighbors. If the petals themselves are uneven, the guide to cutting petals from templates and stacks is the place to start.
When shaping goes wrong
- The curl springs back. Roll tighter, hold longer, or use a thinner tool. Very heavy cardstock may need two passes.
- Cardstock cracks or shows white lines. The paper is too heavy for that bend, or it is being bent against its grain. Score first, or use a broader tool.
- A crepe petal tore down the middle. Too much pull in one go, or a fine, light crepe. Stretch in several small pulls and keep the thumbs close together.
- The petal looks limp and overworked. Paper weakens each time it is reshaped. Cut a fresh petal instead of correcting the same one repeatedly.
- The flower looks stiff and uniform. Every petal has been shaped identically. Vary the amount of curl slightly from petal to petal, as real flowers do.
Shaping problems are among the most frequent reasons a first flower disappoints; the list of common beginner mistakes and their fixes covers the others.
Frequently asked questions
How are cardstock petals curled without special tools?
Roll the petal tip around a pencil, wooden skewer or thick marker, hold for a few seconds and slide the tool out. For a gentler curve, pull the petal lightly between a thumb and the closed blades of a pair of scissors.
Can cardstock petals be cupped like crepe paper?
Not by stretching, because cardstock does not stretch. Small petals can be domed by rubbing the center with a rounded tool on a soft surface, and large petals are cupped by cutting a short slit in the base, overlapping the two sides and gluing them.
Should petals be shaped before or after gluing?
Before. Shaping a petal that is already attached tends to bend or loosen the petals around it. Cup or crease first, curl the edges last, then assemble.