How to Make a Crepe Paper Rose, Petal by Petal
Build a realistic crepe paper rose in five stages: cut two petal shapes, cup and curl them, form a bud on wire, then add petals outward.
Tutorial at a glance
- Difficulty Intermediate
- Estimated time About 1 hour
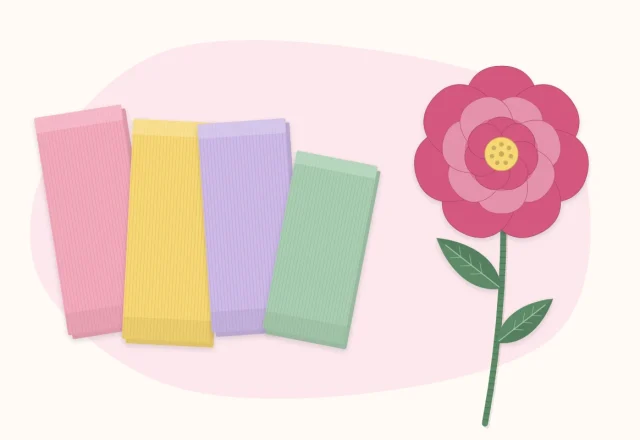
- Recommended paper Heavy crepe paper, about 180 gsm, in a rose color and green
Materials
- Heavy crepe paper, about 180 gsm, in a rose color
- Heavy green crepe paper for the calyx and leaves
- One 18 gauge stem wire
- Two or three 24 gauge wires for leaves
- Green floral tape
- Tacky craft glue
- Sharp scissors
- Wire cutters and small pliers
- Wooden skewer for curling
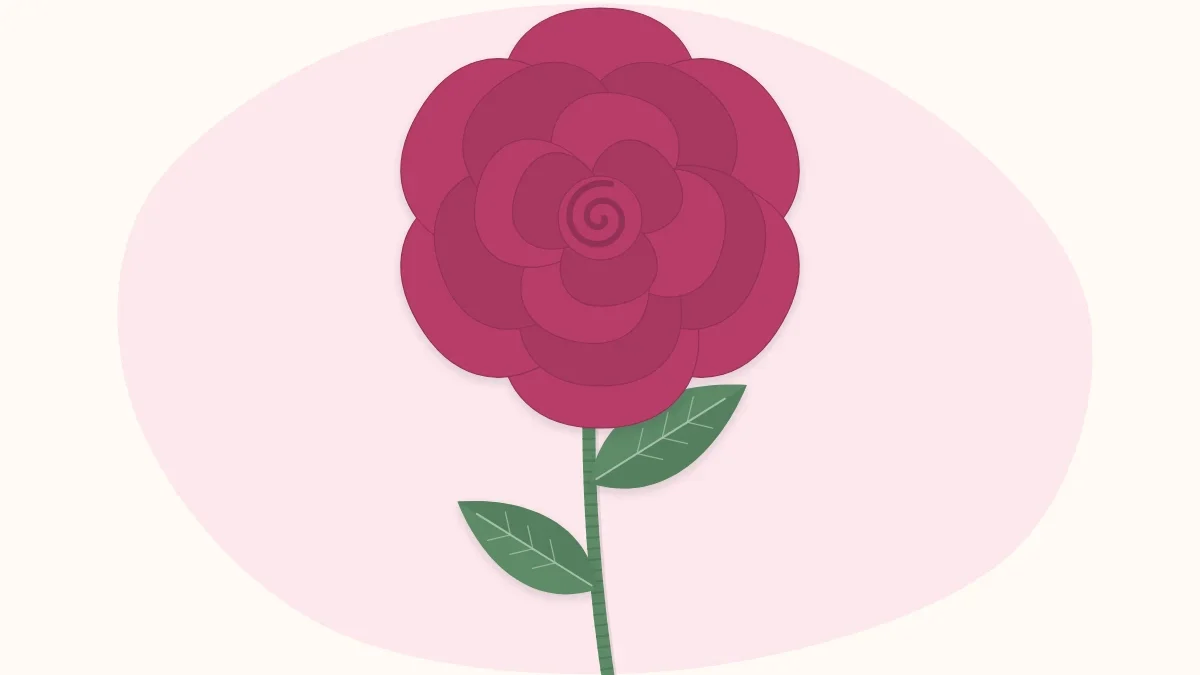
A crepe paper rose is built the way a real rose opens: a tight bud in the middle, a few narrow petals hugging it, then wider petals that loosen and roll back toward the outside. Each petal is shaped on its own and added one at a time, so the flower can be stopped as a bud, a half-open rose or a full bloom.
Counts and sizes below are starting points for a rose about 3.5 inches (9 cm) across.
Materials and paper
- Heavy crepe paper, about 180 gsm, in a rose color: a strip about 20 inches (50 cm) long from a standard fold
- Heavy green crepe paper for the calyx and leaves
- One 18 gauge stem wire, plus two or three 24 gauge wires for leaves
- Green floral tape
- Tacky craft glue
- Sharp scissors, wire cutters, small pliers
- A wooden skewer for curling
Recommended paper: heavy crepe holds a deep cup and a rolled edge, which is what a rose needs. If the difference between crepe weights or the idea of grain is new, read the beginner’s guide to crepe paper weight, grain and stretch first; this tutorial assumes petals are cut with the grain running from base to tip.
Stage 1: Cut the petals
The rose uses two petal shapes.
| Petal | Shape | Size (height × width) | How many |
|---|---|---|---|
| Inner | Teardrop, rounded top, narrow base | 2 × 1.25 inches (5 × 3 cm) | 5 |
| Outer | Heart, with a shallow dip at the top | 2.5 × 2.25 inches (6.5 × 5.5 cm) | 10 to 12 |
Also cut one bud strip 2 inches tall and 4 inches wide (5 × 10 cm), with the grain running along the short side. Fold the crepe into layers to cut several petals at once, keeping the grain lined up.

Stage 2: Shape every petal before assembly
- Cup the teardrops. Hold a petal with both thumbs in the middle and ease them apart until it forms a deep bowl. Leave the top edge unstretched so it curves inward.
- Cup the hearts lower down. Stretch the lower two thirds of each heart petal into a bowl, a little shallower than the inner petals.
- Roll the top corners back. On the heart petals only, roll each of the two top lobes outward around the skewer, away from the cupped side. This gives the pointed, folded-back edge of an open rose.
- Pinch the bases. Give the bottom 1/4 inch (6 mm) of every petal a small pleat so it wraps neatly around the stem.
Tip
Shape the outer petals in two groups: curl half of them tightly and half only slightly. Mixing the two around the flower keeps it from looking too symmetrical.
Stage 3: Build the bud
- Hook the wire. Bend the top 1/2 inch (1.3 cm) of the 18 gauge wire into a small closed hook with pliers.
- Fold the bud strip. Fold it in half lengthwise so it is 1 inch (2.5 cm) tall with the fold at the top.
- Roll it on. Put glue along the open bottom edge, lay the hook at one end and roll the strip around it into a tight spiral. Pinch the base against the wire.
- Add the first three petals. Glue the bottom of a teardrop petal and wrap it around the bud with its cup facing in and its top just above the bud. Add two more, each overlapping the last by about half, so the bud is nearly hidden.
Stage 4: Open the rose
- Finish the inner layer. Add the last two teardrop petals slightly lower and looser than the first three.
- Start the heart petals. Glue on a ring of five, each one centered over the seam between two petals beneath it. Keep the bases at the same height on the stem.
- Add the outer ring. Attach the remaining five to seven petals a touch lower, tilting the tops outward. Rotate the flower in your hand after each one and look from above.
- Secure the base. Wrap stretched floral tape tightly around the petal bases three or four times.
Deciding when to stop
Stopping after Stage 3 gives a bud. Five heart petals make a half-open rose, and ten to twelve make a full one. A mix of all three looks more natural in a group than identical blooms, and the RHS rose guide is a useful reference for the range of real rose forms.
Stage 5: Calyx, stem and leaves
- Cut the calyx. From green crepe, cut a strip 2 inches tall and 2.5 inches wide (5 × 6.5 cm), grain running vertically, and cut five long points into the top like a crown.
- Attach it. Glue the uncut band around the base of the rose so the points lie against the outer petals. Curl a couple of points downward.
- Make the leaves. Cut three pointed ovals about 1.5 inches (4 cm) long, glue a 24 gauge wire down the center of each, and tape them together as a group of three.
- Wrap the stem. Stretch floral tape and spiral it down from the calyx, taping in the leaf group about 3 inches (7.5 cm) below the flower.
Leaf shapes, wiring and the taping motion are covered in more depth in the guide to making wire stems and paper leaves.
Watch out
Wire ends are sharp when cut. Trim them pointing away from your face, bend the bottom tip of the stem back on itself, and keep wire and cutters away from young children.
If the rose does not look right
- It looks like a cabbage. Petals were attached too high. Set each new ring slightly lower than the last.
- The center is visible. The first three petals need to overlap by half and sit above the bud.
- Petals stand straight up. They were cupped but not curled. Roll the top corners back, even after assembly.
- Petals look limp. Over-stretched crepe. Replace those petals and stretch less.
- The base is bulky. Too much paper at the bottom of each petal. Pleat the bases more firmly, or trim them narrower.
Variations
- Two-tone. Use a deeper shade for the bud and inner petals and a lighter one outside.
- Garden rose. Double the number of inner petals and keep them tightly packed for a fuller center.
- Tinted edges. Brush a little chalk pastel along the rolled edges before assembly.
Once a rose feels comfortable, the same cupping and layering carry over to a full, ruffled crepe paper peony, and a handful of roses at different stages is enough to start a hand-tied paper flower bouquet.
Frequently asked questions
How many petals does a crepe paper rose need?
As a starting point, 5 teardrop inner petals and 10 to 12 heart-shaped outer petals make a full rose about 3.5 inches (9 cm) across. Fewer outer petals give a half-open rose.
What crepe paper is best for roses?
Heavy crepe around 180 gsm, because it holds a deep cup and a rolled edge. Lighter crepe can be used for a softer look but tears more easily while shaping.
Why does my crepe paper rose look like a cabbage?
The petals are usually attached too high and without curled edges. Set each ring slightly lower on the stem than the one before and roll the top corners of the outer petals back.