How to Make a Paper Flower Garland
String small flat-backed paper flowers and leaves onto twine. Covers how long to cut the twine, how many flowers to make and how to keep them facing forward.
Tutorial at a glance
- Difficulty Easy
- Estimated time About 45 minutes for assembly, plus time to make the flowers
- Recommended paper Text-weight paper or light cardstock for small flowers and leaves
Materials
- Small flat-backed paper flowers, 2 to 3.5 inches (5 to 9 cm) across
- Paper leaves, 2 to 3 inches (5 to 7.5 cm) long
- Cotton or jute twine, or narrow ribbon
- Scrap cardstock for backing discs
- Tacky craft glue or low-temperature glue gun
- Scissors, ruler and pencil
- Clothespins or small clips
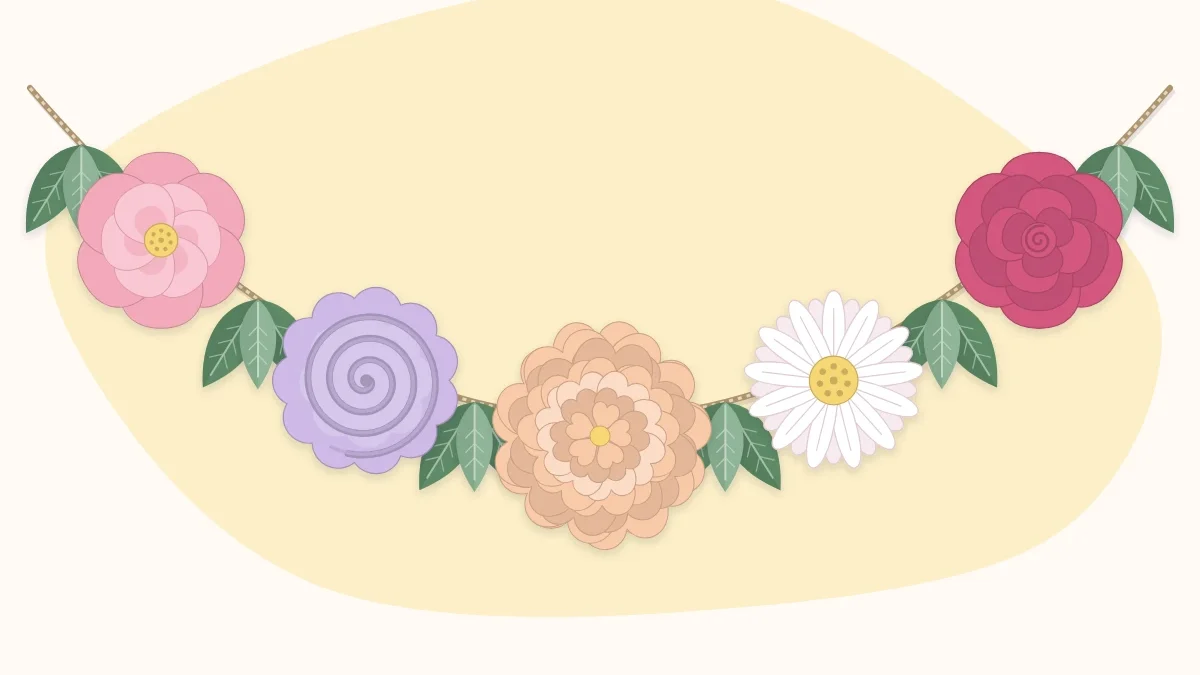
A paper flower garland is a row of small, flat-backed flowers fixed to a length of twine, usually with leaves in between. The making is simple. The two things worth planning are the length, so the garland drapes instead of pulling tight, and where the twine crosses each flower, so the flowers face forward instead of tipping over.
Work out the length first
Measure the straight distance between the two hanging points. For a gentle curve, add about 15 percent, then add 12 inches (30 cm) at each end for tying. Flowers spaced every 6 inches (15 cm) give a full look; every 8 to 10 inches (20 to 25 cm) is lighter and quicker.
| Span between hooks | Twine to cut | Flowers at 6 in (15 cm) spacing | Leaves |
|---|---|---|---|
| 3 ft (0.9 m) | About 5.5 ft (1.7 m) | 7 | 8 to 14 |
| 5 ft (1.5 m) | About 8 ft (2.4 m) | 11 | 12 to 22 |
| 8 ft (2.4 m) | About 11 ft (3.4 m) | 18 | 19 to 36 |
The counts are starting points. An odd number of flowers puts one in the exact center, which helps a symmetrical drape.
Materials
- Small paper flowers, 2 to 3.5 inches (5 to 9 cm) across, with flat backs
- Paper leaves, 2 to 3 inches (5 to 7.5 cm) long, in text-weight paper or light cardstock
- Cotton or jute twine, or narrow ribbon
- Scrap cardstock for backing discs
- Tacky craft glue or a low-temperature glue gun
- Scissors, ruler, pencil
- Clothespins or small clips
Choose flowers that suit a garland
Garland flowers need to be light and flat at the back. Stemmed, heavy or very deep flowers twist the twine. Three good candidates:
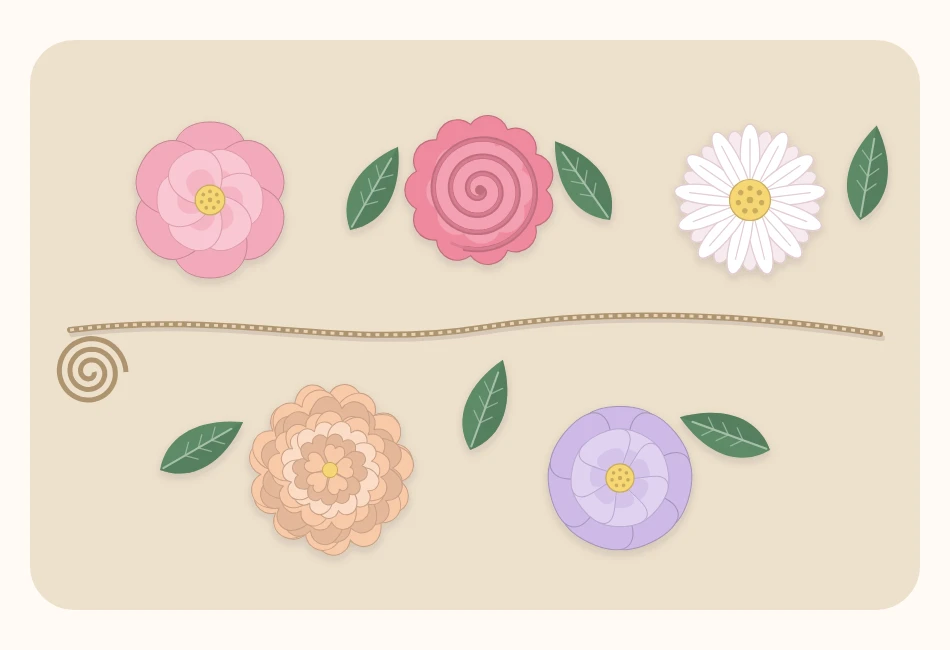
- A quick paper daisy is flat, fast to repeat and looks good from a distance.
- Spiral rolled roses already have a flat glued base and add height without much weight.
- Accordion fold flowers are round and bold, useful as larger accents every third or fourth position.
Two flower types in two or three colors are enough. Repeating a simple pattern, such as daisy, rose, daisy, looks tidier than a random mix.
Prepare the pieces
- Make the flowers. Finish all flowers and let the glue set completely. Leave off any stems.
- Cut backing discs. Cut one cardstock circle per flower, about 1 inch (2.5 cm) across. A coin makes a handy template. The twine will be sandwiched between the flower and this disc.
- Cut leaves with tabs. Cut each leaf with a short tab of about half an inch (1 cm) at its base. Fold the leaf lightly down the middle for a vein. The tab will fold over the twine.
- Mark the twine. Cut the twine to length and lay it straight. Leave the tying allowance free at both ends, then mark each flower position with a small pencil dot, starting from the center and working outward.
Lay everything out
Place the flowers face down on their marks and the leaves in the spaces between, one or two per gap, pointing in alternating directions. This dry run shows whether the colors repeat evenly and whether there are enough leaves, while it is still easy to change.
Attach flowers and leaves
- Position the twine high. With a flower face down, lay the twine across its back about one third of the way down from the top edge, not across the middle. A flower hung from above its center stays upright; one hung through the center can spin and face the floor.
- Glue the sandwich. Put glue on a backing disc, press it over the twine onto the flower back and hold for a few seconds. The twine should be fully trapped and unable to slide.
- Work from the center outward. Attach the middle flower first, then alternate left and right. This keeps the pattern symmetrical if the count is slightly off.
- Add the leaves. Fold each leaf tab over the twine and glue it to the back of the leaf. Angle the leaves so they point away from the nearest flower.
- Let it dry flat. Leave the garland on the table until the glue has set fully; tacky glue needs longer than hot glue. Lifting too early pulls discs loose.
- Test hang. Clip the ends to two chair backs. Check that every flower faces forward and re-glue any that tilt.
Tip
If the garland may be reused at a different width, glue only the flowers and clip the leaves on with mini clothespins. They can then be moved to cover wider or narrower gaps.
Hang it
Tie a loop at each end and hang the loops on small removable hooks, nails or pins. Raise or lower one end until the lowest point of the curve sits in the middle. On a mantel or shelf, tape the twine to the top surface, out of sight, and let the flowers hang over the front edge. For a long garland, add a third hanging point in the middle to make two shallow curves.
Watch out
Never drape a paper garland above lit candles, a working fireplace or hot bulbs. Hang garlands out of reach of babies and small children, since long cords are a hazard.
If this happens, do that
| Problem | Likely cause | Fix |
|---|---|---|
| Flowers tip forward or flip | Twine glued across the middle or lower half | Peel off the disc and re-glue with the twine in the upper third |
| Flowers slide together | Twine not trapped in glue | Add glue along the twine under the disc and press again |
| Garland hangs in a V | Heavy flowers bunched in the center | Move large flowers toward the ends or add a middle hook |
| Twine twists | Deep flowers on thin thread | Use thicker twine or flatter flowers |
| Tangles in storage | Garland folded loosely | Wrap it around a flat piece of cardboard with tissue between layers |
Variations
- Vertical strands. Hang several short lengths side by side from a rod or branch, flowers spaced 4 to 5 inches (10 to 13 cm) apart, as a backdrop.
- Leaf-heavy garland. Use three leaves per gap and a flower only every 10 inches (25 cm) for a greener look.
- Seasonal colors. Change only the paper: soft pastels for spring, warm oranges and yellows for fall.
A garland pairs well with table and wall pieces in the same colors; the roundup of paper flower party decorations has more ideas for building a matching set.
Frequently asked questions
How many flowers does a paper flower garland need?
Divide the decorated length by the spacing. At one flower every 6 inches (15 cm), a garland for a 5 foot (1.5 m) span needs about 11 flowers. Wider spacing of 8 to 10 inches needs fewer.
Why do the flowers on a garland flip or face downward?
The twine is probably attached across the middle of the flower. Fix the twine across the upper third of the back so the flower hangs below its attachment point and stays upright.
What is the best string for a paper flower garland?
Cotton or jute twine grips glue well and resists twisting. Narrow ribbon also works. Very thin thread tends to twist under deeper flowers.