How to Make Giant Paper Flowers from Cardstock
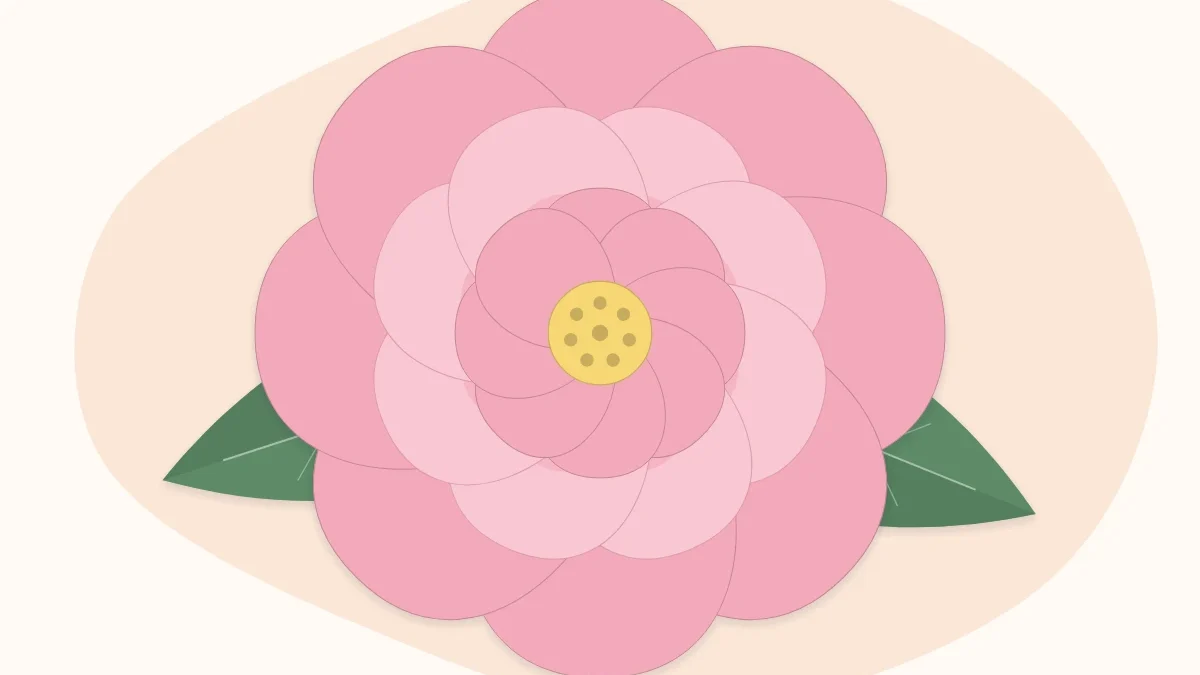
Build one large cardstock flower for a wall or backdrop: three petal sizes, a slit that cups each petal and three rings glued onto a round base.
Tutorial at a glance
- Difficulty Intermediate
- Estimated time About 1.5 to 2 hours per flower
- Recommended paper 65 lb (176 gsm) cardstock, letter size
Materials
- 12 sheets of 65 lb cardstock in the flower color
- 2 sheets of green cardstock for leaves
- 1 sheet of contrasting cardstock for the center
- Pencil and scissors
- Scrap paper or thin cardboard for templates
- Low-temperature glue gun and glue sticks
- Thick marker or wooden dowel for curling
- Ribbon or removable adhesive strips for hanging
Giant paper flowers look complicated, but one flower is just a set of large cardstock petals glued in rings onto a round base. The trick that gives the flower its depth is a short slit at the bottom of every petal: overlapping the two flaps makes a flat petal cup forward. This tutorial builds one flower about 18 inches (45 cm) across from ordinary letter-size cardstock.
At a glance
| Finished size | About 16 to 18 in (40 to 45 cm) across |
|---|---|
| Petals | 17 in three sizes, plus a center |
| Paper | About 15 sheets of 65 lb (176 gsm) letter-size cardstock |
| Glue | Low-temperature glue gun, or tacky craft glue with clips |
Materials and tools
- 65 lb (176 gsm) cardstock, 8.5 x 11 inches: 12 sheets in the flower color, 2 in green
- One sheet in a contrasting color for the center
- Pencil and scissors
- Scrap paper or thin cardboard for templates
- Low-temperature glue gun and glue sticks
- A thick marker or wooden dowel for curling
- Ribbon or a removable adhesive strip for hanging
Weight matters at this scale. Text-weight paper flops, and very heavy cardstock cracks when curled. The guide to choosing paper for paper flowers compares the options.
Draw three petal templates
Each template is a wide teardrop: rounded at the top, narrowing to a flat base about 2 inches (5 cm) wide. Fold the scrap paper in half lengthwise, draw half the shape against the fold and cut, so both sides match.
| Ring | Petal height | Petal width | How many |
|---|---|---|---|
| Outer | 9 in (23 cm) | 6.5 in (16.5 cm) | 6 |
| Middle | 7.5 in (19 cm) | 5.25 in (13.5 cm) | 6 |
| Inner | 6 in (15 cm) | 4.5 in (11.5 cm) | 5 |
These sizes are starting points. For a larger or smaller flower, scale all three templates by the same amount; the finished flower comes out at roughly twice the height of the outer petal.
Cut and prepare the petals
- Trace and cut. One outer petal fits on a letter-size sheet; two middle or two inner petals fit side by side with the sheet turned sideways. Trace lightly on the back and cut inside the pencil line. Stacking two sheets saves time; more than two tends to slip. For cleaner curves, see the tips on cutting petals from templates and stacks.
- Cut the base circle. From a leftover sheet, cut a circle about 5 inches (13 cm) across. A small plate makes a good guide.
- Slit each petal. Cut a straight slit up the middle of the base: 2 inches (5 cm) long on outer and middle petals, 1.5 inches (4 cm) on inner ones.
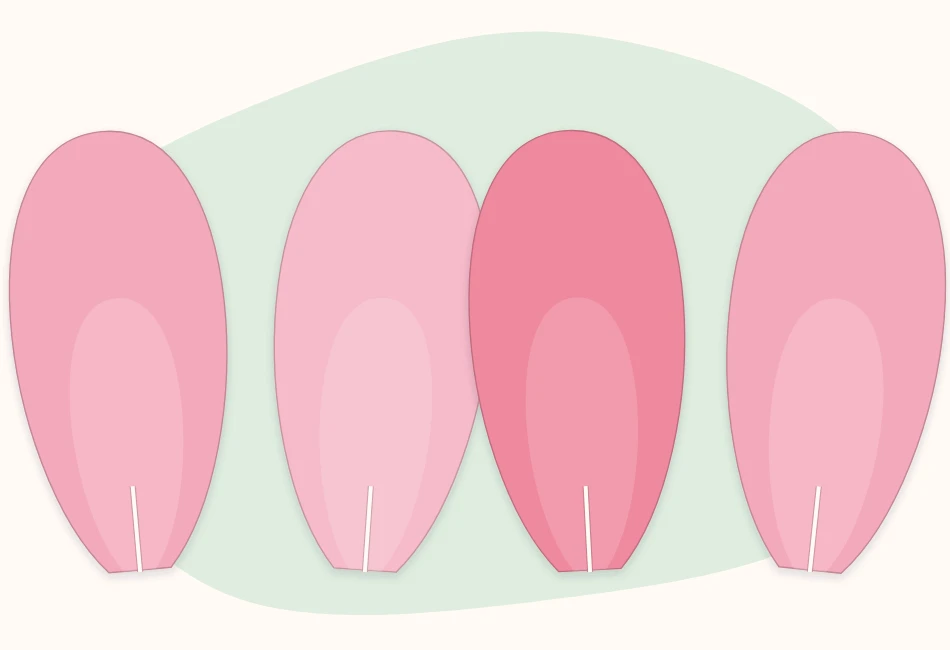
- Curl the tips. Roll the top edge of each petal backward around the marker. For a softer look, curl the two upper corners separately. More on this in the guide to curling and cupping paper petals.
- Cup the base. Put a line of glue on one flap beside the slit and slide the other flap over it by about 1 inch (2.5 cm). Hold until it grips. A bigger overlap makes a deeper cup, so overlap the inner petals a little more than the outer ones.
Assemble the flower
- Glue the outer ring. Glue the six largest petals around the base circle, bases pointing to the middle and covering about 1.5 inches (4 cm) of the circle’s edge. Place two opposite petals first, then space the others between them. Neighbors should overlap slightly.
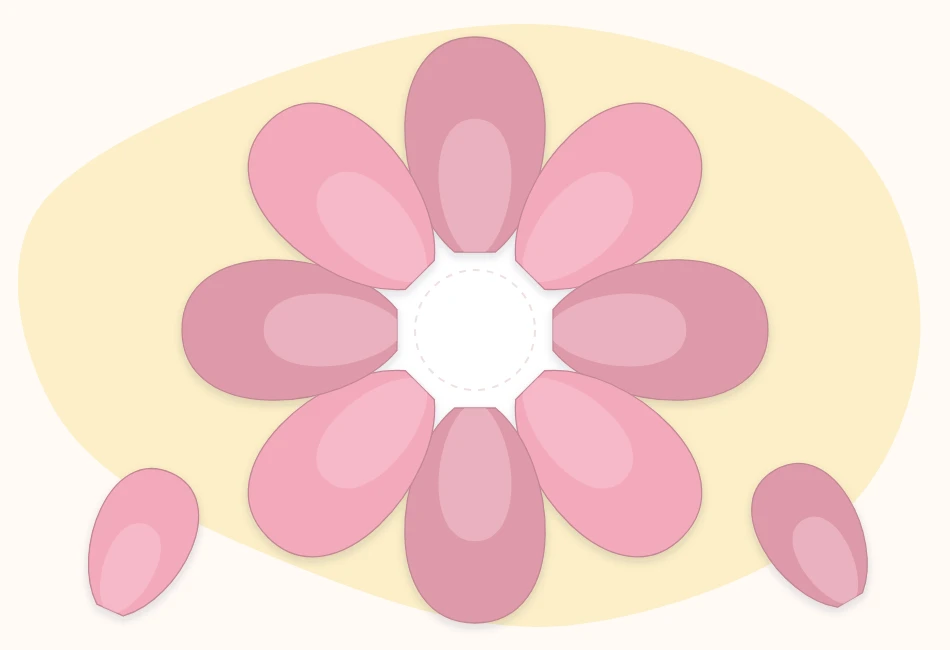
- Add the middle ring. Glue the six middle petals about half an inch (1 cm) closer to the center, each one covering the gap between two outer petals.
- Add the inner ring. Glue the five small petals closer in again, staggered over the gaps. They should stand more upright than the rings below.
- Make the center. Cut three strips 2.5 inches (6 cm) wide along the long side of the contrasting sheet. Snip a fringe along one edge of each, stopping half an inch (1 cm) from the other edge. Glue the strips end to end, roll them into a tight coil, glue the end, and fan the fringe outward. Glue the coil into the middle of the flower.
- Add leaves. Cut two pointed leaves about 10 inches (25 cm) long from green cardstock. Fold each in half lengthwise and open it again for a center vein, then glue the leaf bases to the back of the base circle so they show between two outer petals.
- Add a hanger. Glue a loop of ribbon to the upper back of the base circle, or leave the back clean for removable adhesive strips.
Watch out
A project this size uses a lot of hot glue. Use a low-temperature gun, keep fingertips off fresh glue, and rest the gun on a stand between petals. Children should cut and curl; an adult should glue.
When something looks off
- The flower is flat. The slit overlaps are too small. Peel a few petals back and overlap the flaps further.
- Petals crack when curled. The cardstock is too stiff or is being rolled too tightly. Use a thicker dowel and curl in two gentle passes.
- Gaps show the base. Each ring should sit over the gaps of the ring below. Add a spare inner petal or make the center coil wider.
- Petals droop on the wall. The petal bases are not glued over enough of the base circle. Add glue under the lower petals and hold until set.
Variations
- Pointed petals. Draw the template with a tip instead of a round top for a dahlia-like flower.
- Two tones. Use a slightly darker shade for the inner ring to add depth.
- Curled center. Replace the fringe with three very small cupped petals glued upright.
- Extra large. Use 12 x 12 inch (30 x 30 cm) cardstock, scale the templates up and widen the base circle to match.
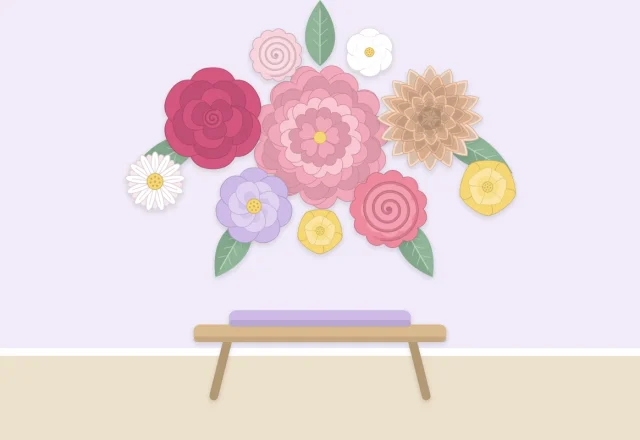
One giant flower works alone above a desk or as the anchor of a larger group. For arranging several sizes together, see the guide to planning and hanging a paper flower wall.
Frequently asked questions
What paper is best for giant paper flowers?
Cardstock around 65 lb (176 gsm) is a good balance: stiff enough to hold a large petal upright and flexible enough to curl without cracking. Thinner paper droops at this size.
How many sheets of cardstock does one giant flower need?
For a flower about 18 inches (45 cm) across made from letter-size sheets, plan on about 12 sheets for petals and base, one for the center and two for leaves. Larger flowers need more.
How do giant paper flowers stay on the wall?
A single cardstock flower is light. A ribbon loop on a small hook or removable adhesive strips on the back of the base circle are usually enough. Test strips on a hidden patch of wall first.