Mother’s Day Paper Flowers: A Simple Carnation and Ways to Give It
A ruffled tissue paper carnation made from a stack of circles, a wire and floral tape, plus three simple ways to give it: in a jar, on a card or as a single stem.
Tutorial at a glance
- Difficulty Easy
- Estimated time About 20 minutes per flower
- Recommended paper Tissue paper, or light crepe paper
Materials
- Tissue paper in pink, red or white
- 18-gauge floral wire
- Green floral tape
- Scissors (pinking shears optional)
- A round lid about 3 inches (7.5 cm) across for tracing
- Pencil, paper clips and wire cutters
- Water-based marker for edging (optional)
- Green paper scrap for leaves (optional)
Carnations are the flower most closely tied to Mother’s Day, and they happen to be one of the simplest blooms to make from paper. A stack of tissue circles, a wire and a strip of floral tape are enough for a ruffled carnation, and a small bunch can be finished in one sitting. This project covers the flower first, then three ways to turn it into a gift.
What you need
- Tissue paper in pink, red or white: one standard sheet makes two to three flowers
- 18-gauge floral wire, one length of about 10 inches (25 cm) per flower
- Green floral tape
- Scissors, plus pinking shears if available
- A round object about 3 inches (7.5 cm) across to trace, such as a jar lid
- A pencil, a few paper clips and wire cutters
- Optional: a water-based marker one shade darker than the tissue, and a scrap of green paper for leaves
Tissue is the recommended paper because it crumples into soft ruffles with almost no effort. Fine or light crepe paper also works and is a little sturdier; the layered method here is the same. Younger children can help with tracing, pinching and fluffing, with an adult handling the wire and supervising scissors.
Make the carnation
Cut and edge the circles
- Stack the tissue. Fold or cut the tissue into a stack of 10 to 12 layers a little larger than the lid. Clip the edges with paper clips so the layers do not slide.
- Trace and cut. Trace the lid lightly on the top layer and cut out the circle through the whole stack. With pinking shears, the zigzag edge is made in the same cut. With ordinary scissors, cut a plain circle, then snip tiny V-shaped notches all the way around, about 1/8 inch (3 mm) deep.
- Color the edge (optional). Keeping the stack clipped, run the side of the marker around the cut edge so every layer picks up a thin line of darker color. This imitates the picotee edge seen on many carnations and makes the ruffles easier to read.
- Add four short slits. Cut four slits from the edge toward the center, evenly spaced, each about 0.75 inch (2 cm) long. They let the layers ruffle more freely.
Wire and gather
- Prepare the wire. Bend the top 0.5 inch (1.2 cm) of the wire into a small, tight hook with your fingers or pliers.
- Thread the stack. Poke the straight end of the wire down through the center of the stack and pull it through until the hook rests on the top layer. Press the hook flat so it bites into the tissue and cannot pull through.
- Pinch up the first layer. Separate the top circle from the stack and gather it upward around the hook, scrunching it firmly at the base. It will form a tight, crumpled center.
- Repeat, layer by layer. Bring up each following circle the same way, pinching at the base every time. Do not try to lift several layers at once; one at a time gives the dense ruffles a carnation needs.
- Tape the base. Hold the gathered base tightly. Stretch the floral tape slightly as you wrap, which activates its stickiness, and wind it around the bottom 0.5 inch (1.2 cm) of the tissue several times. This taped section becomes the green cup, or calyx, under the flower. Continue wrapping diagonally down the wire to the end.
- Fluff. Gently tease the layers apart from the outside in until the flower is rounded on top and about 2.5 to 3 inches (6 to 7.5 cm) across.
Carnation leaves are thin and grass-like. To add them, cut two narrow strips of green paper about 2 inches (5 cm) long, taper both ends and catch the bases under the floral tape partway down the stem. More leaf shapes and wrapping help are in the guide to wire stems and paper leaves.
Watch out
Cut wire ends are sharp. Use wire cutters rather than scissors, point the wire away from faces while threading, and cover the bottom end of each stem with tape.
If the flower is not working
| What is happening | What to change |
|---|---|
| The flower looks thin and see-through | Add more layers. Go up to 14 or 16 circles, or thread a second stack on the same wire. |
| It looks like a flat disc | The layers were not pinched tightly enough at the base. Squeeze the base again and rewrap the tape higher and tighter. |
| The tissue tears while fluffing | Pull from the middle of a layer rather than from its edge, and use slower, smaller movements. |
| The head slides down the wire | The hook was too open. Flatten it firmly against the tissue and add a dot of glue. |
| The floral tape will not stick | Stretch it more as it is wrapped, and press it with warm fingers. |
Three ways to give it
A jar of carnations
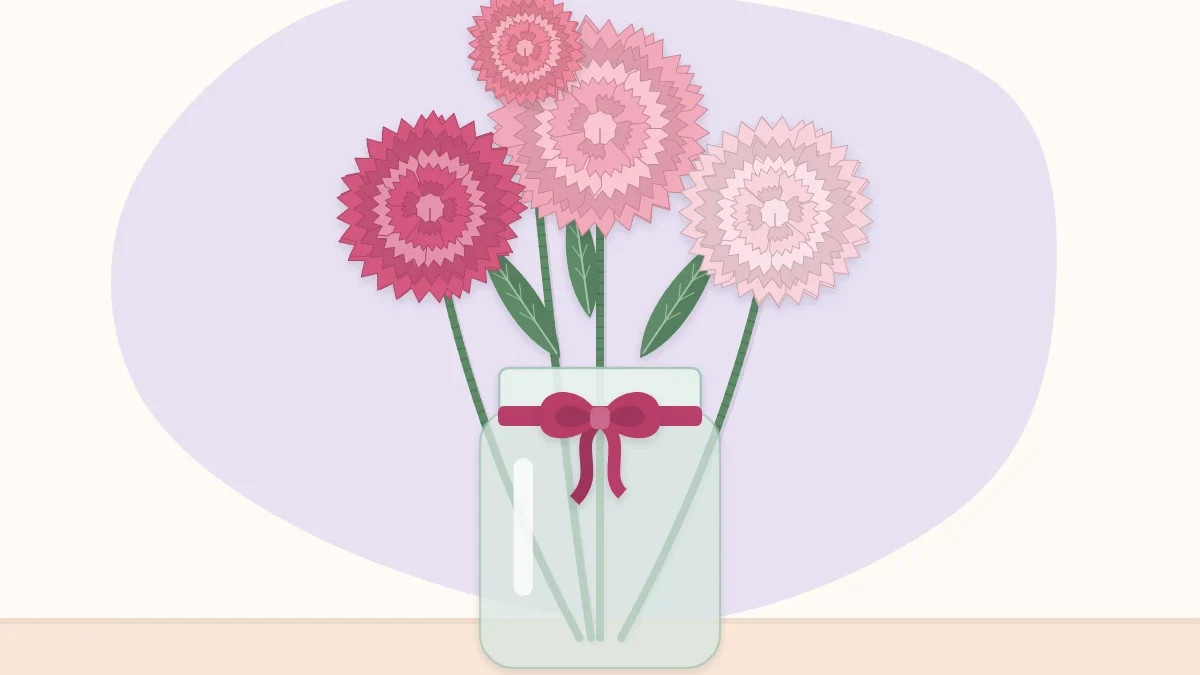
Five to seven carnations fill a small jar nicely. Make them in two or three related shades, such as deep pink, pale pink and white, and trim the stems to slightly different lengths so the heads sit at staggered heights, with the tallest about one and a half times the height of the jar. Tie a ribbon around the neck. If the stems splay, a handful of crumpled kraft paper in the bottom of the jar holds them in place. For a fuller, wrapped presentation without a container, the same stems can be gathered using the method in the guide to assembling a hand-tied paper bouquet.
A carnation card
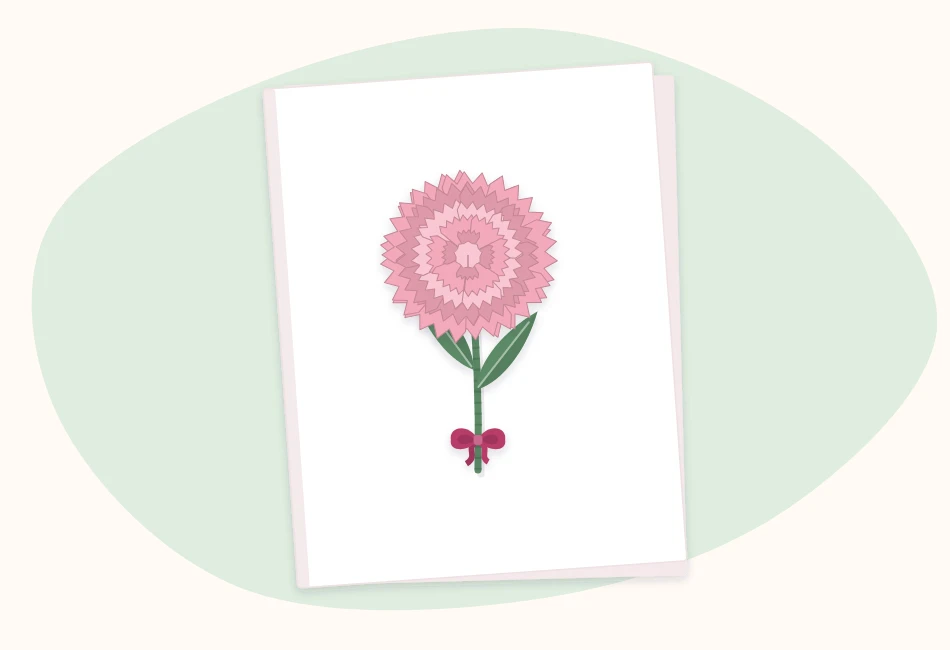
A smaller, flatter carnation turns a blank folded card into the gift. Cut 6 circles about 2 inches (5 cm) across, edge them as before, and skip the wire. Instead, staple the stack once through the center or secure it with a dot of glue between each layer, then pinch up the layers and fluff. Glue the flat back to the card front, and add a stem and two slim leaves cut from green paper beneath it. Leave the inside blank for a handwritten message. If the card will be mailed, use a padded envelope or a small box, since a standard envelope will flatten the flower.
A single stem with a note
One carnation with a ribbon and a tag tied below the flower head is a complete gift, and a good choice for grandmothers, aunts and others being remembered on the day. Roll the note around the stem and tie it, or punch a hole in a tag and thread it onto the ribbon.
Variations
- Two-tone bloom. Stack two colors, with the darker circles on top so they end up at the center.
- Mixed bunch. Combine carnations with a few fluffy pom blooms made by the accordion method shown in the tutorial on classic tissue paper flowers.
Tissue fades in strong light, so suggest a spot away from a sunny window, and the flowers will still be on display long after the day itself.
Frequently asked questions
Why are carnations linked to Mother's Day?
Carnations have been associated with Mother's Day in the United States since the holiday's early years in the 1900s, and pink, red and white carnations remain a traditional choice.
Can children make these paper carnations?
Yes, with help. Children can trace, pinch up the layers and fluff the flower. An adult should cut and bend the wire and supervise scissors. The card version uses no wire at all.
How many layers of tissue does a paper carnation need?
Ten to twelve circles is a good starting point for a 3 inch (7.5 cm) flower. If the result looks thin, add more layers; fourteen to sixteen gives a denser bloom.